
Opening a New Optical Store? Here’s Your Display Cabinet List

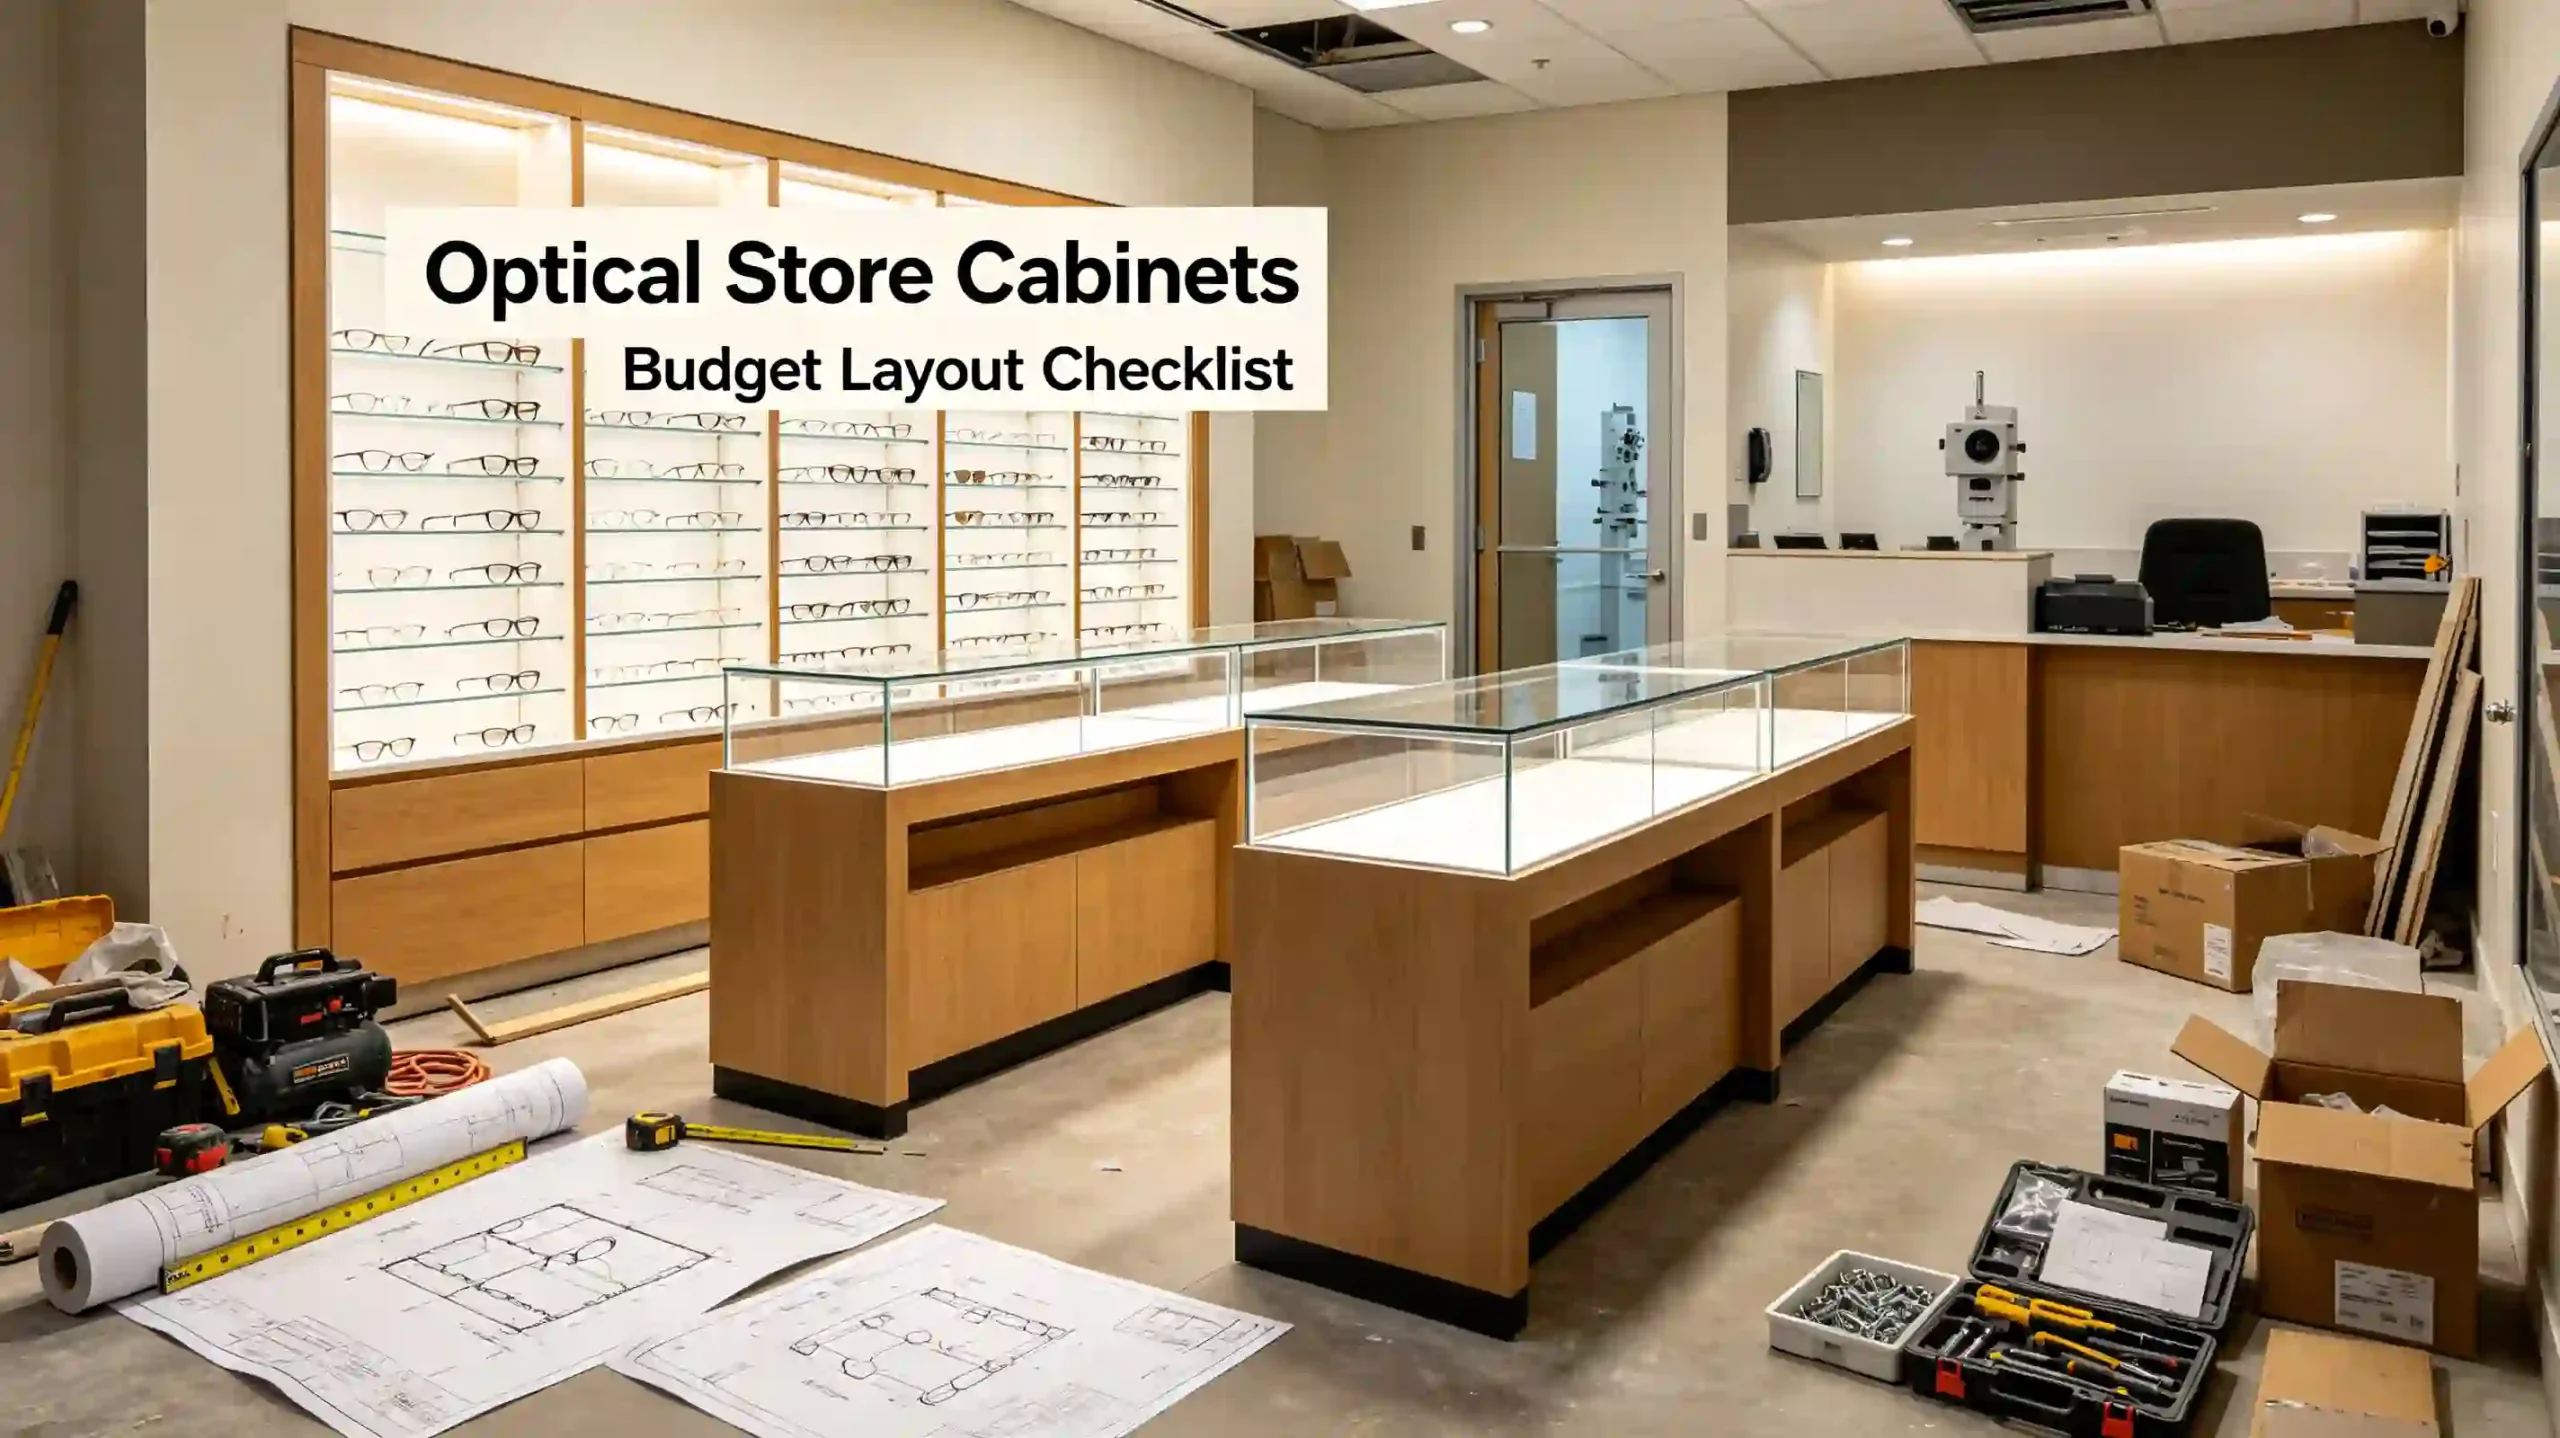
If you’re in the middle of opening a new optical store, then consider this display cabinet list your first real cheat sheet. Most store owners get completely caught up in the renovation and forget that the display cabinets are exactly where customers decide to pull out their wallets. Pick the wrong cabinet setup, and you’ll end up rewiring everything, messing up the store flow, and cutting your display efficiency in half. We’ve seen this happen way too many times.
I’m not going to throw a bunch of product model numbers at you. What I’m sharing below is a configuration logic we’ve pieced together from more than 30 overseas optical store orders over the past five years. Whether you’re running a cozy 30-square-meter neighborhood shop or a 120-square-meter high-end optical center, this will work. After reading, you’ll know what to order first and what can easily turn into a nightmare during sea shipping.
A Solid Display Cabinet List – Where Do You Even Start?
Not from the style, and not from the material.
Start from your store’s “hero product flow.”
Ask yourself three questions:
- The second a customer pushes the door open, where do their eyes land within 3 seconds?
- Can the frame try-on area naturally guide them toward the optometry room?
- At which exact spot should the impulse buy happen for sunglasses and contact lenses?
Once you’ve answered these three, the types and quantities of cabinets will pretty much shape up in your mind. Don’t copy someone else’s store setup; the sales per square meter can vary wildly. When we design a plan for a new store, we always map out the customer flow zones first, then slot the cabinets in. Get the order wrong, and you’ll be patching things up with random shelving later – it kills your profit margins.
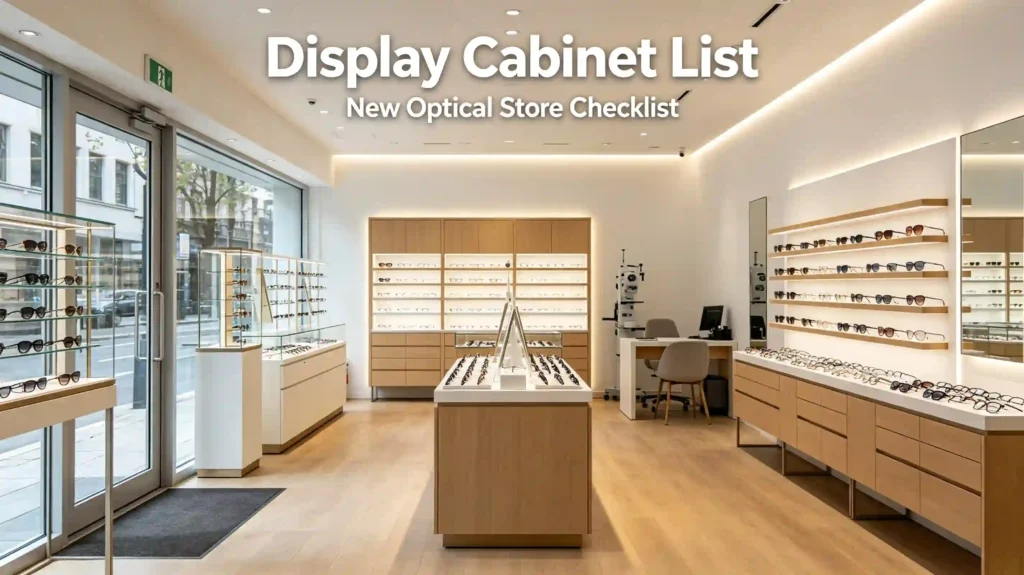
6 Types of Display Cabinets a New Store Can’t Live Without – Miss One and You’re Losing Money
I’ve listed these based on a customer’s natural journey through your store. Key points, dimensions, and pitfalls are all laid out.
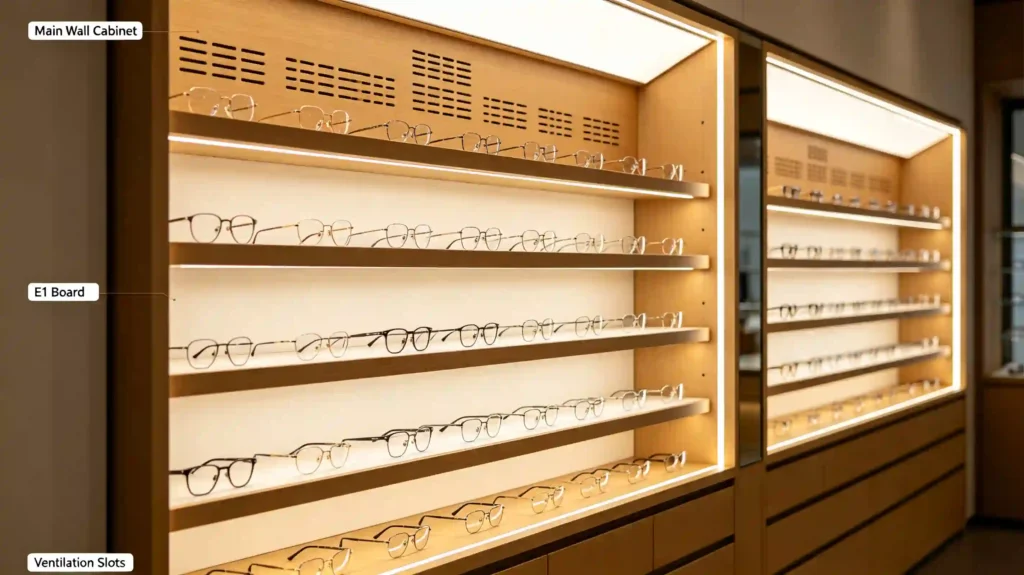
1. Main Wall Eyewear Display Cabinet
This sets the tone. First impression depends entirely on it.
Don’t jump straight for full-height cabinets. For many stores under 40 sqm, we directly suggest a half-height back cabinet plus a lightbox. It doesn’t make the space feel cramped and you can still create that brand wall effect.
For materials, go for multi-layer solid wood boards or MDF with at least E1 environmental rating, covered with durable baking paint. The biggest headache for overseas stores is moisture absorption causing warping, so the back panel must have ventilation slots.
Dimension-wise, keep each module width between 1000 and 1200mm. A depth of 350mm is enough – anything deeper just eats up floor space and blocks the light.
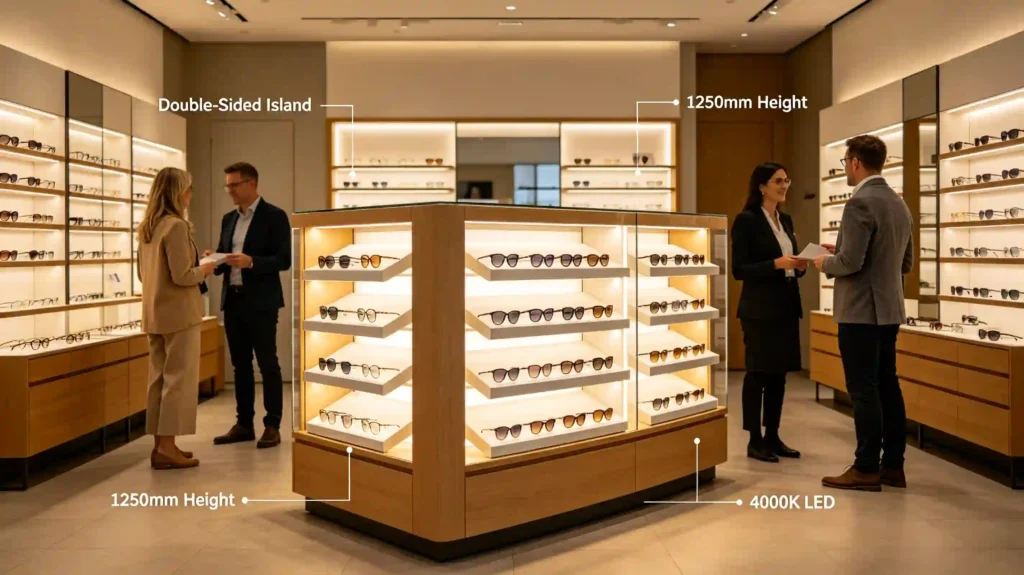
2. Double-Sided Island Display Cabinet
This is where your real profit pieces get sold.
Island cabinets aren’t just for decoration. They have one critical job: make customers stop and reach out to touch.
The height absolutely must not exceed 1350mm. Go over that, and sightlines get blocked; customers and staff on opposite sides can’t interact comfortably. We usually go with 1250mm height, double-sided, with 4 tilted tray layers. A tray angle of 15°-20° is spot on. Too steep and it looks messy, too flat and the reflection makes it impossible to see temple details clearly.
For LED strips, stick to 4000K natural white. Overseas shops are really sensitive to cool color temperatures that make the cabinet materials look cheap. And the driver must be external and easy to replace – don’t seal it inside, or maintenance later will drive you crazy.
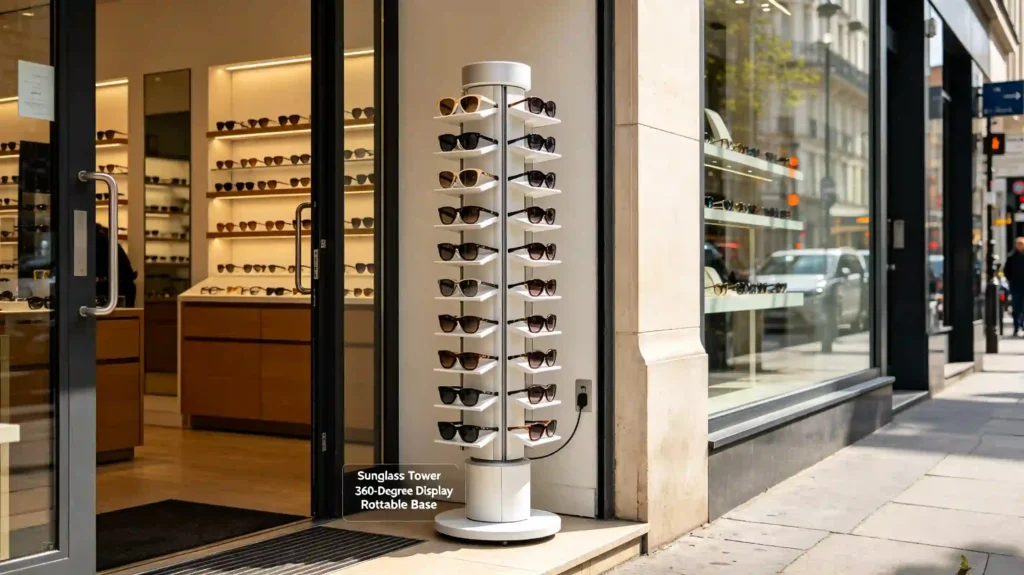
3. Freestanding Sunglass Tower Cabinet
A seriously underestimated impulse-buy spot.
Many shop owners think just hanging sunglasses on the wall is fine. Then a whole summer passes and the sell-through is terrible.
The beauty of a tower cabinet is 360-degree display. It takes up less than 0.5 square meters but can hold 80 to 120 pairs. Place it in the window zone or on the right side as you walk in – it does wonders for converting foot traffic.
For export, we usually make these rotatable with silent bearings, and the shelf height adjustable, so the client can switch things up seasonally without hassle. If shipping by sea, the tower cabinet must be packed knocked-down. One unit gets split into base, column, and tray sections, then palletized before going into the container. Otherwise, the volumetric weight will make you cry when you see the freight bill.
4. Contact Lens & Solution Combo Cabinet
Don’t just fob this off with a tiny shelf.
The biggest mistake in the contact lens area is trying to squeeze it in anywhere, like next to the cash register. In reality, this zone needs special dry, dust-proof, lockable drawers because of medical-device-level storage requirements.
In our B2B dealings, we always remind clients: for orders heading to North America or Australia, the contact lens solution shelves must have waterproof spill-proof edges with small retaining lips to stop liquid from corroding the cabinet body. Also, it’s smart to leave space for a mini fridge at the back of these cabinets for storing trial packs later.
5. Integrated Cashier & Try-On Desk Module
It’s not just for taking payments – it’s the final persuasion zone.
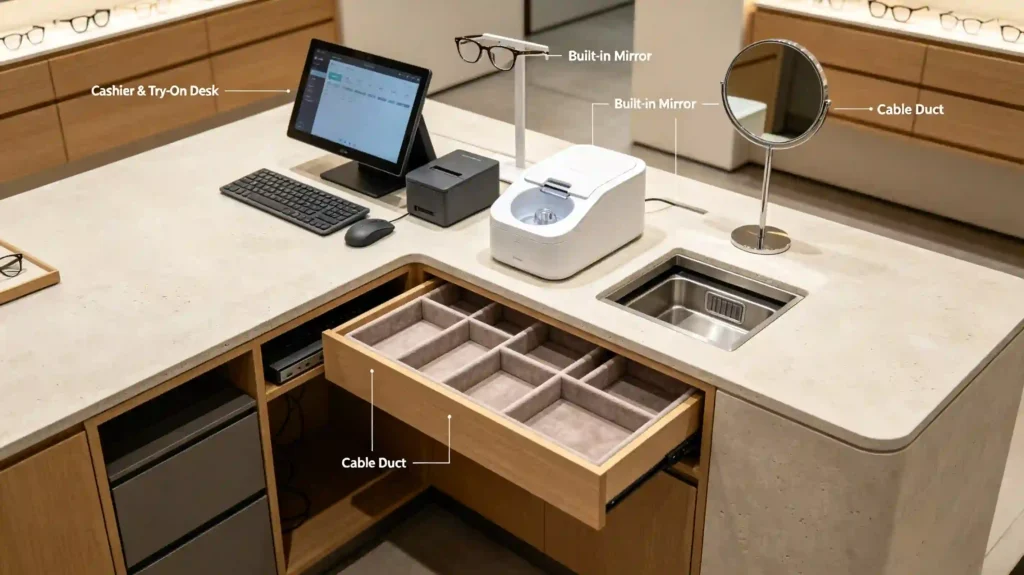
This spot needs to integrate: the cash register, try-on mirror placement, ultrasonic cleaner, and a customer registration screen. Many overseas owners want this area to look clean and tech-forward. We often use a marble-pattern or micro-cement countertop with a recessed toe-kick at the front, so customers can stand close while trying on frames.
Inside the cabinet, plan cable ducts and at least 4 power sockets in advance. Don’t count on a power strip to handle everything. Make the try-on mirror drawers as trays with flocked dividers – it makes end-of-day cleanup a breeze for staff.
6. Accessories & Inventory Side Cabinet
Almost every B2B client adds this later, but the first order always forgets it.
Cloths, cases, small tools, spare temples – these need closed storage but can’t be too far from the sales floor. A really efficient approach is to build a row of combo tall cabinets against the wall behind the try-on zone. Glass doors on top to show off premium accessories, closed storage at the bottom for stock.
Make them 2200mm high to use the upper space fully, but without feeling overbearing. Use 5mm tempered glass for the doors – much lower risk of breakage when going through customs.