
How to Choose Displays for Your Small Candy Shop

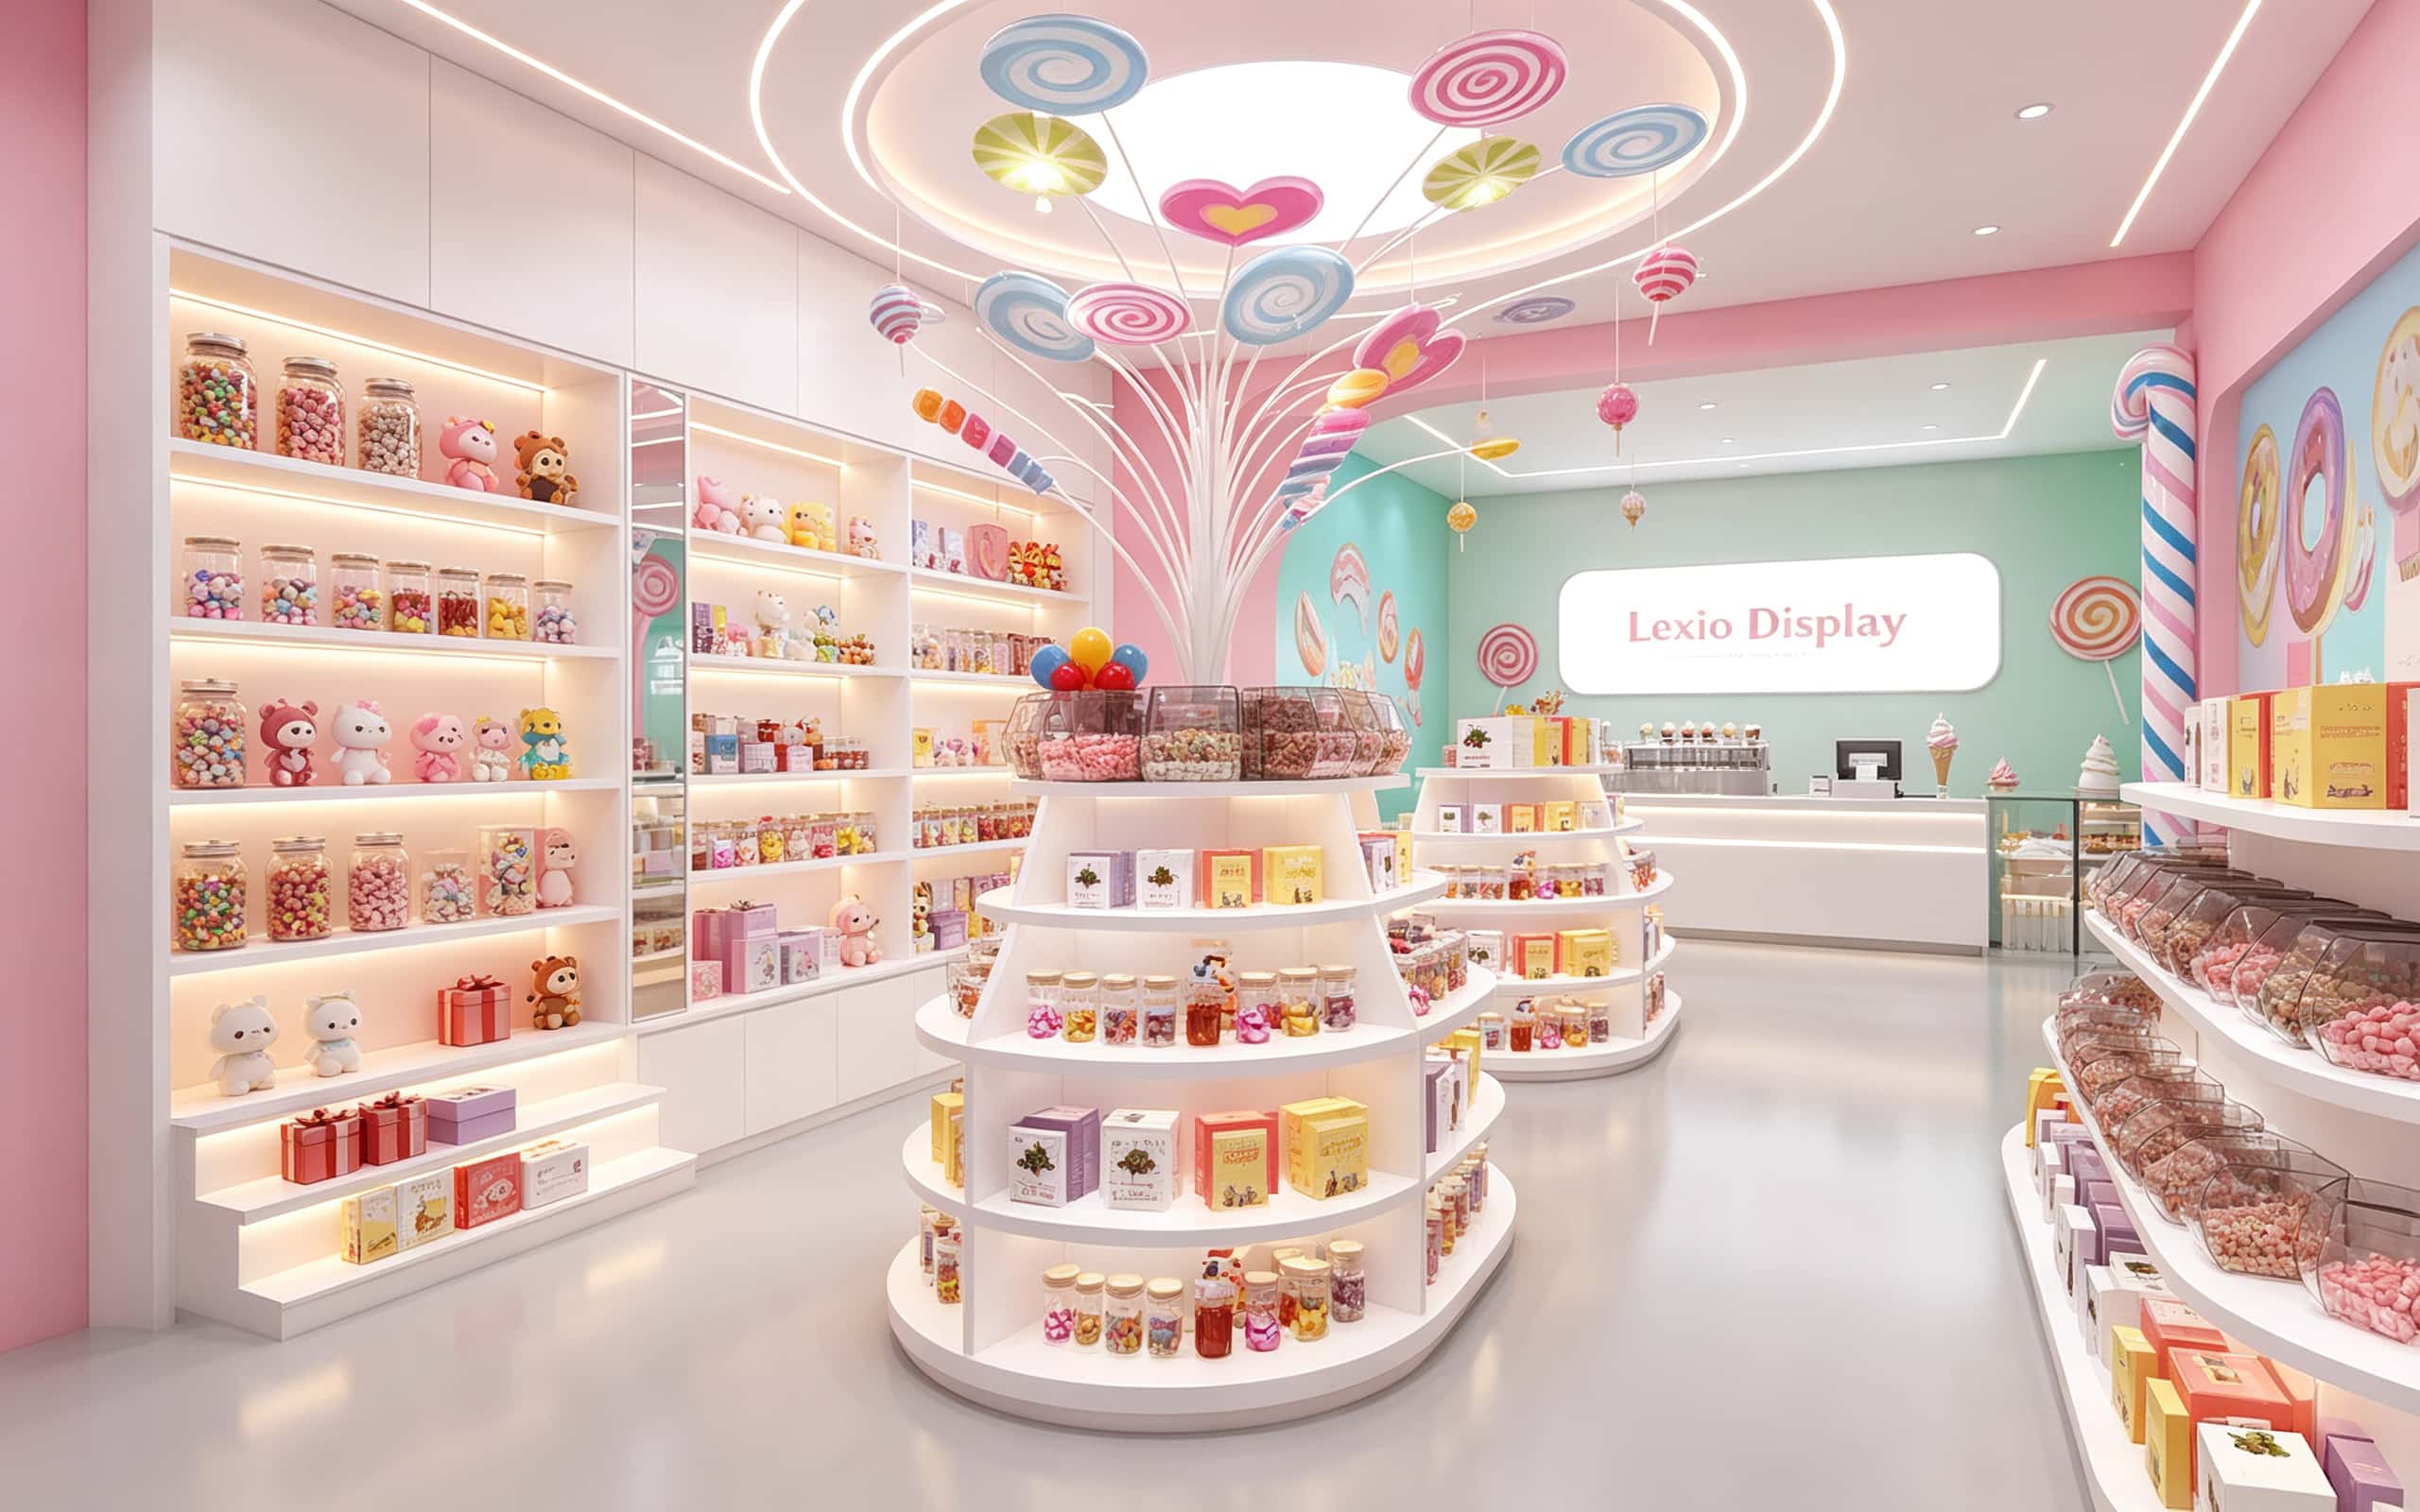
Choosing candy shop displays comes down to shopper flow, product visibility, material safety, flexible sizing, and budget. Pick fixtures that make candy irresistible, fit your floor plan, and survive daily retail life without constant repair. Then scale as sales grow.
A candy shop display is a retail fixture designed to hold, organize, and present candy so customers can see, compare, and buy quickly. It controls sightlines, portion sizes, hygiene, and impulse purchases while fitting the shop’s floor plan, traffic flow, and brand style.
Start With Your Floor Plan and Customer Flow
Your floor plan decides which displays work before style ever enters the room. Candy shops live on quick trips, gift runs, and impulse buys, so fixtures must guide feet naturally. Start with entrances, cash wrap, aisles, and dead corners. If a display blocks movement, it will hurt sales no matter how pretty it looks.
Displays must follow traffic, not fight it.
- Put high-impulse candy near the register, but keep the queue clear.
- Use low fixtures in the center so customers can see across the shop.
- Place tall displays against walls, not in narrow aisles.
- Keep at least 36 inches of main aisle width for strollers and wheelchairs.
- Turn dead corners into destination zones with samples or seasonal features.
Zone planning for a small candy shop
| Zone | Best Display Type | Main Goal | Typical Width |
|---|---|---|---|
| Entrance | Low bin or round table | Stop traffic, show color | 24–36 in |
| Center floor | Tiered table or gondola | Encourage browsing | 30–48 in |
| Wall | Shelving or pegboard | Hold many SKUs | 48–96 in |
| Cash wrap | Counter jars or racks | Drive last-minute buys | 12–24 in |
| Back wall | Feature shelf or cooler | Promote gifts and premium | 36–72 in |
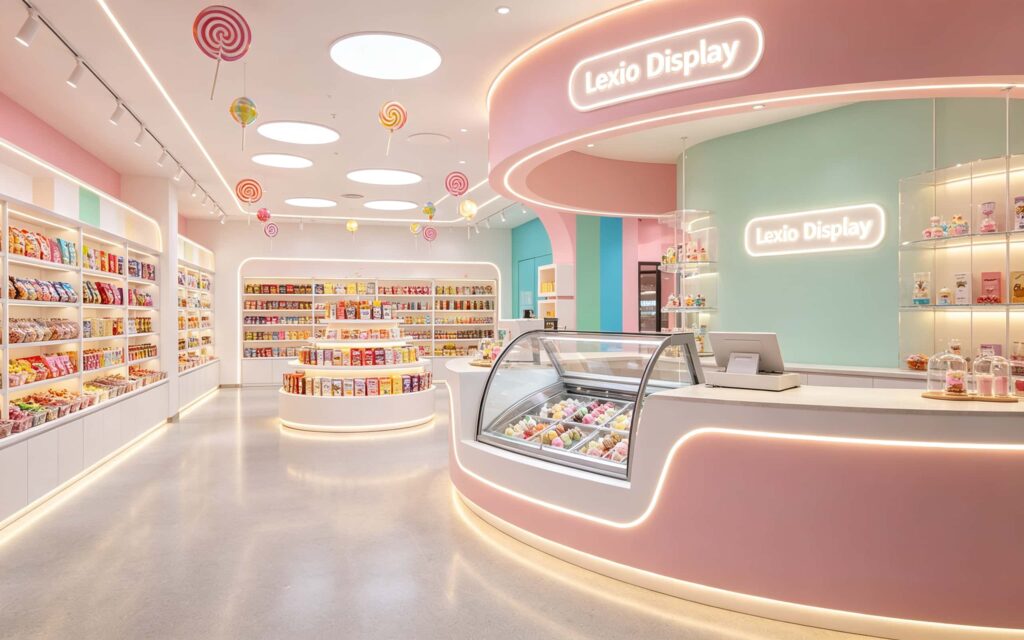
Map Primary Zones
- Entrance: bright, low, and open.
- Center: flexible and easy to walk around.
- Walls: vertical storage for variety.
- Register: small, high-margin impulse items.
- Pickup or gift area: bags, boxes, and labels.
Measure Every Wall and Aisle
- Measure width, height, and depth.
- Note outlets, vents, doors, and security cameras.
- Leave room for staff to restock.
- Check lease rules before drilling or attaching anything.
- Photograph the space from customer eye level.
Match the Display Type to the Candy Format
Different candy formats need different fixtures. Loose jelly beans, wrapped chocolate bars, lollipops, gift boxes, and pick-and-mix cups all sell better when the display matches how shoppers browse. The right fixture reduces spills, speeds restocking, and makes price checking easy. The wrong one turns candy into a messy pile customers walk past.
Match the fixture to the candy, not the other way around.
- Loose candy: scoop bins, gravity dispensers, or covered trays.
- Wrapped bars: tiered shelves, pegboard hooks, or angled trays.
- Lollipops: counter cups, tiered stands, or wall racks.
- Gift boxes: glass cases, risers, or lit shelves.
- Pick-and-mix: clear bins with scoops, bag holders, and labels.
- Freeze-dried candy: sealed jars or bags on clean, dry shelves.
Candy type vs. best display
| Candy Type | Best Display | Why It Works | Avoid |
|---|---|---|---|
| Loose jelly beans | Covered scoop bin | Keeps candy fresh | Open bowls |
| Chocolate bars | Angled shelf | Shows labels | Deep bins |
| Lollipops | Counter stand | Easy grab | High wall hooks |
| Gummy mixes | Clear gravity bin | Color appeal | Opaque boxes |
| Premium truffles | Glass case | Signals value | Cheap plastic |
| Seasonal gifts | Lit feature shelf | Creates urgency | Back corner |
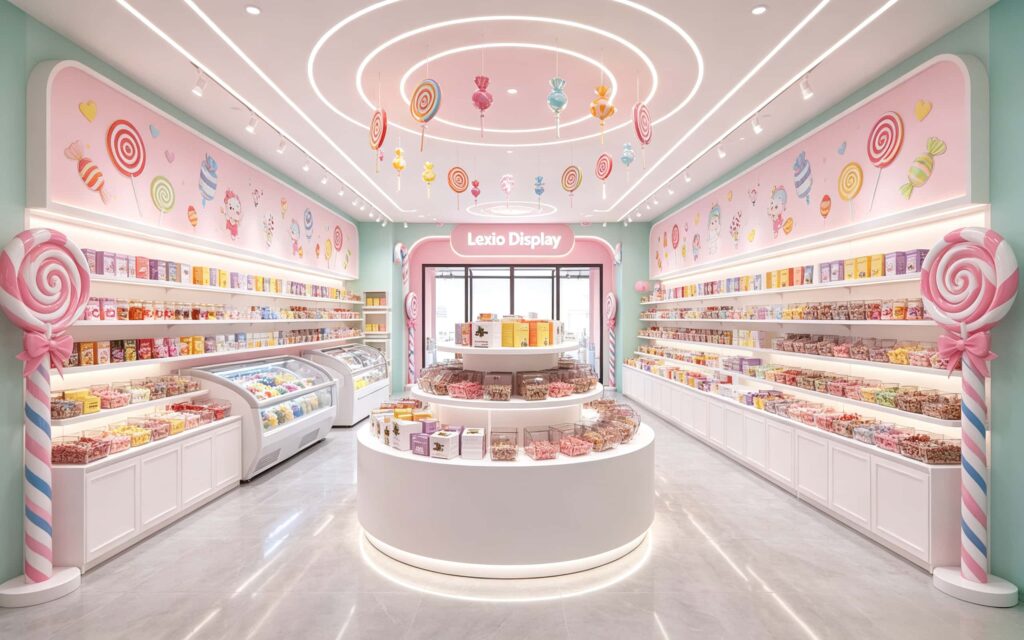
Choose Materials That Survive Sugar, Sticky Fingers, and Cleaning
Candy shops are sticky, humid, and busy. Displays must wipe clean, resist chipping, and handle daily restocking without wobbling. Acrylic, powder-coated metal, sealed wood, tempered glass, and food-safe corrugated board all have a place. Choose based on contact with food, cleaning chemicals, and how often staff move the fixture.
Buy for cleaning and durability first, beauty second.
- Acrylic: clear, light, and easy to wipe; scratches over time.
- Powder-coated metal: strong and stable; can chip if dropped.
- Sealed wood: warm and brand-friendly; needs moisture protection.
- Tempered glass: premium look; heavier and more expensive.
- Food-safe corrugated board: cheap and seasonal; not long-term.
- Bamboo or sealed plywood: eco-friendly; verify food-safe finish.
Material comparison
| Material | Best For | Cleanability | Relative Cost | Lifespan |
|---|---|---|---|---|
| Acrylic | Bins, jars, dividers | High | Medium | 2–5 years |
| Metal | Shelving, frames | High | Medium–High | 5–10 years |
| Sealed wood | Feature walls | Medium | Medium–High | 5–10 years |
| Tempered glass | Premium cases | High | High | 10+ years |
| Corrugated board | Seasonal promos | Low | Low | 1 season |
| Bamboo | Eco displays | Medium | Medium | 3–6 years |
Get the Size, Height, and Depth Right
Size is not just about fitting a wall. Height controls reach, depth controls browsing, and width controls how many SKUs customers can scan. A small candy shop usually needs eye-level impulse displays, waist-high bulk bins, and low bins for children. Measure doors, aisles, and cash wrap clearance before ordering.
Measure twice, buy once.
- Counter displays: 12–24 inches wide, 18–30 inches tall.
- Floor bins: 24–36 inches wide, 30–36 inches tall.
- Wall shelves: 36–96 inches wide, 48–72 inches tall.
- Gift cases: 36–60 inches wide, 60–72 inches tall.
- Aisle clearance: keep 36–44 inches minimum.
- Child reach: 24–36 inches from floor.
- Adult reach: 36–60 inches from floor.
Size guide by display type
| Display | Width | Height | Depth | Best Location |
|---|---|---|---|---|
| Counter jar | 6–12 in | 8–14 in | 6–10 in | Cash wrap |
| Tiered stand | 12–24 in | 18–30 in | 12–18 in | Counter or table |
| Floor bin | 24–36 in | 30–36 in | 24–30 in | Center floor |
| Wall shelf | 36–96 in | 48–72 in | 10–16 in | Perimeter wall |
| Glass case | 36–60 in | 60–72 in | 24–30 in | Back wall |
| Pegboard | 24–48 in | 48–72 in | 1–3 in | Wall |
Use Color, Lighting, and Contrast to Drive Impulse Buys
Candy is colorful, but a rainbow explosion can hide products. Use contrast to make specific candies pop. Warm lighting flatters chocolate and caramel; cool lighting makes bright gummies and sour candy look crisp. Mirrors, risers, and back panels add depth without taking floor space. Change focal points monthly so regulars notice new items.
Light the candy, not the ceiling.
- Use warm 2700K–3000K light for chocolate and baked goods.
- Use cool 4000K–5000K light for gummies and sour candy.
- Add LED strip lights under shelves for small spaces.
- Use matte back panels to reduce glare.
- Keep price tags large, clean, and consistent.
- Rotate color themes by season, not by chaos.
Lighting choices
| Candy Type | Light Color | Best Fixture | Avoid |
|---|---|---|---|
| Chocolate | Warm 2700K–3000K | Soft shelf light | Harsh blue light |
| Gummies | Cool 4000K–5000K | LED strip | Yellow dim light |
| Sour candy | Neutral 3500K–4000K | Bright shelf | Deep shadows |
| Gift boxes | Warm 3000K | Accent spotlight | Flickering bulbs |
| Bulk bins | Neutral 3500K | Overhead LED | Heat-producing bulbs |
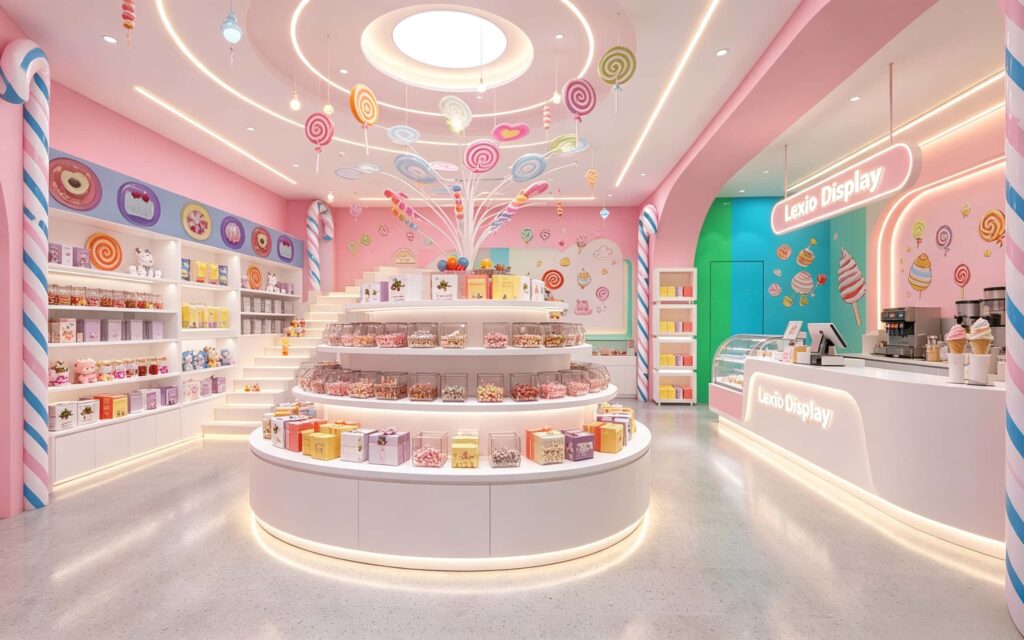
Plan for Bulk, Pre-Packed, and Seasonal Candy
Bulk, pre-packed, and seasonal candy have different rhythms. Bulk sells on volume and scoop appeal. Pre-packed sells on convenience and labels. Seasonal candy sells on urgency and giftability. Your display plan should let you switch between these modes without buying all new fixtures every holiday.
Plan for change, not just today.
- Use modular bins for bulk candy.
- Use adjustable shelves for packaged candy.
- Keep a seasonal table near the entrance.
- Store extra dividers, risers, and signs.
- Label allergens clearly on every bulk bin.
- Train staff to rotate stock daily.
Balance Open Bins and Closed Cases
Open bins invite touch, smell, and scooping. Closed cases protect hygiene, reduce theft, and hold premium or allergy-sensitive products. Most small candy shops need both. The ratio depends on your neighborhood, staff size, and product mix. Use open bins for high-turn impulse candy and closed cases for gifts and expensive items.
Mix open and closed based on risk and sales speed.
- Open bins: high-turn, low-cost, colorful candy.
- Closed cases: premium, giftable, or allergy-sensitive items.
- Scoop bins: require clean scoops, labels, and staff checks.
- Gravity dispensers: good for small pieces and quick restocking.
- Jars: charming but slow to refill.
- Pre-packed racks: best for bars, bags, and checkout queues.
Set a Realistic Budget Without Cutting Corners
A candy shop display budget should cover fixtures, shipping, assembly, lighting, signage, and replacement parts. Cheap displays often cost more after a year of repairs. Expensive custom fixtures can also be overkill if your lease is short. Set a number, then divide it between permanent anchors and flexible seasonal pieces.
Spend where customers touch and staff restock.
- Must-have: cash wrap, wall shelving, bulk bins, signage.
- Nice-to-have: custom lighting, glass cases, branded risers.
- Seasonal: cardboard displays, temporary tables, window props.
- Maintenance: replacement scoops, labels, dividers, touch-up paint.
- Shipping: bulky fixtures can cost more than expected.
- Assembly: budget for tools, labor, or professional install.
Budget tiers for a small candy shop
| Tier | Budget Range | Best For | Watch Out For |
|---|---|---|---|
| Lean | $500–$1,500 | New shop, short lease | Weak stability |
| Balanced | $1,500–$5,000 | Most small shops | Shipping costs |
| Premium | $5,000–$15,000 | Brand-focused shops | Over-customizing |
| Luxury | $15,000+ | High-traffic destination | Long lead times |
Prioritize Safety, Hygiene, and Compliance
Safety and hygiene are non-negotiable in food retail. Displays must not tip, trap fingers, or hold candy near chemicals, trash, or floor splashes. Food-contact surfaces need approved materials. Local rules vary, so check labels, cleaning instructions, and inspection requirements. A beautiful display that fails inspection is a liability, not an asset.
If it touches candy, treat it like food equipment.
- Use food-safe, non-toxic materials.
- Keep bins covered when not in use.
- Store scoops in clean holders, not inside candy.
- Avoid wood that is cracked, splintered, or unsealed.
- Anchor tall units to walls or floors.
- Label allergens and ingredients clearly.
- Clean high-touch surfaces daily.
Make Displays Flexible for Reorders and Seasons
Trends change faster than leases. A display system that adjusts shelves, dividers, and signage will save money when you add freeze-dried candy, international sweets, or gift boxes. Modular fixtures also make cleaning and restocking easier. Buy anchors that stay, then add movable trays, risers, and bins for new products.
Flexibility beats a perfect one-time layout.
- Choose adjustable shelf heights.
- Use removable dividers for different candy sizes.
- Keep signage in reusable frames.
- Add wheels to seasonal tables if floors allow.
- Store extra bins and trays off-site or in back.
- Review the layout every quarter.
Test the Layout Before You Buy
Before you buy, test the layout with cardboard boxes, tape, and printed signs. Walk the path customers will take. Check reach from a wheelchair, stroller, or child’s height. Watch staff restock with a full box. A one-hour mock-up can prevent a costly fixture mistake that lasts for years.
Mock it up before you pay.
- Tape the floor to show display footprints.
- Use boxes to match height and width.
- Walk the route from door to register.
- Test restocking with a full box.
- Ask a child and a senior to reach items.
- Check camera views and blind spots.
- Adjust before ordering.
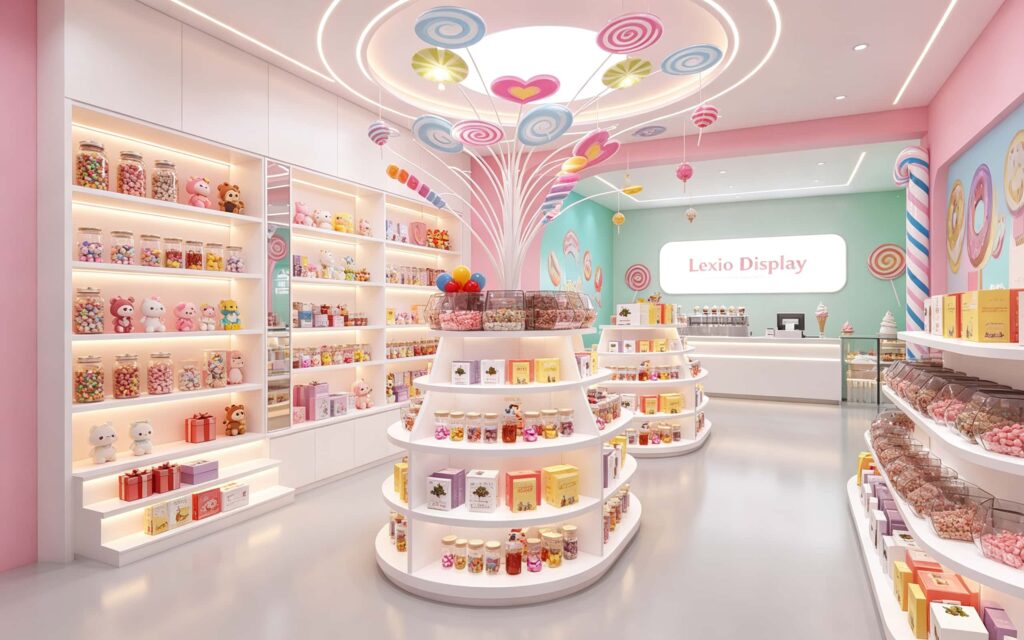
Compare Custom and Ready-Made Displays
Ready-made displays are faster and cheaper. Custom displays fit odd walls, brand colors, and specific candy assortments. Most small candy shops benefit from a hybrid: ready-made bins and shelves for standard areas, custom cash wrap and feature walls for impact. Decide based on lease length, brand goals, and how unique your space is.
Use ready-made for speed, custom for signature moments.
- Ready-made: lower cost, fast shipping, limited sizes.
- Custom: perfect fit, brand match, longer lead time.
- Hybrid: best balance for most small shops.
- Custom cash wrap: strong first impression.
- Ready-made wall shelves: practical and affordable.
- Custom feature wall: seasonal and photo-friendly.
Custom vs. ready-made
| Factor | Ready-Made | Custom | Hybrid |
|---|---|---|---|
| Cost | Low–Medium | High | Medium |
| Lead Time | Days–Weeks | Weeks–Months | Mixed |
| Fit | Standard | Exact | Mostly exact |
| Branding | Limited | Full | Partial |
| Flexibility | Medium | Low–Medium | High |
| Best For | New shops | Unique spaces | Most candy shops |
Avoid Common Candy Shop Display Mistakes
Many candy shop owners buy displays for looks, then discover they block aisles, hide prices, or break under sticky fingers. Others overcrowd shelves until nothing stands out. The worst mistake is copying a big-box store layout that does not fit a small, personal shop. Avoid these traps by testing, measuring, and editing ruthlessly.
Less clutter, more sales.
- Do not block the entrance with tall fixtures.
- Do not mix too many display styles.
- Do not hide price tags.
- Do not use open bins for messy or melting candy.
- Do not ignore cleaning time.
- Do not buy fragile displays for high-touch areas.
- Do not forget staff restocking space.
Quick Buying Checklist
Use this checklist before you order any fixture. It keeps your floor plan, candy types, budget, and cleaning needs in one place. Print it, mark what matters most, and bring it to your display supplier. A few minutes of planning can save hundreds of dollars and weeks of frustration.
Run the checklist, then buy.
- Floor plan measured and photographed.
- Main aisles at least 36 inches wide.
- Display heights match adult and child reach.
- Materials are food-safe and easy to clean.
- Open and closed displays balanced.
- Lighting color matches candy type.
- Budget includes shipping and assembly.
- Seasonal flexibility built in.
- Safety anchors and labels planned.
- Layout tested with boxes and tape.
FAQ
These are the questions candy shop owners ask most before buying displays. Short answers help you compare options quickly. Use them with the checklist above, then request a layout review. The goal is a shop that looks inviting, stays clean, and sells more candy every week.
What is the best display for a small candy shop?
The best display depends on your candy mix, but most small shops need a mix of wall shelving, covered bulk bins, counter jars, and one glass case. Prioritize clear visibility, easy cleaning, and flexible shelves.
How much should I spend on candy shop displays?
A lean setup can start around $500–$1,500. A balanced small shop usually spends $1,500–$5,000. Premium custom work can exceed $15,000. Always include shipping, assembly, and replacement parts.
Are open candy bins hygienic?
Open bins can be hygienic if they use scoops, clean holders, labels, and daily cleaning. For allergy-sensitive or premium candy, closed cases or pre-packed displays are safer.
What material is best for candy displays?
Acrylic and powder-coated metal are excellent for most shops. Tempered glass suits premium cases. Sealed wood adds warmth but needs moisture protection. Avoid unsealed wood and cheap plastic that cracks.
How high should candy displays be?
Keep child-friendly candy at 24–36 inches. Put impulse items at 36–60 inches. Tall wall units should not block sightlines. Counter displays usually work best at 18–30 inches tall.
How do I lay out a small candy shop?
Start with the entrance, cash wrap, and main aisle. Use low center displays, tall wall shelves, and a clear queue. Put impulse candy near the register and gifts on a lit feature wall.
Can I use ready-made displays instead of custom?
Yes. Ready-made displays are faster and cheaper. Use custom fixtures only for signature areas like the cash wrap or feature wall. A hybrid approach works best for most small candy shops.
Ready to turn your candy shop into a display-driven sales machine? Send us your floor plan and we’ll create a 3D display design that fits your space, your candy, and your budget. Contact our display design team today and let’s map out a shop customers can’t walk past.