
Renovating a Mobile Phone Store? Here’s the Real Deal You Need to Know

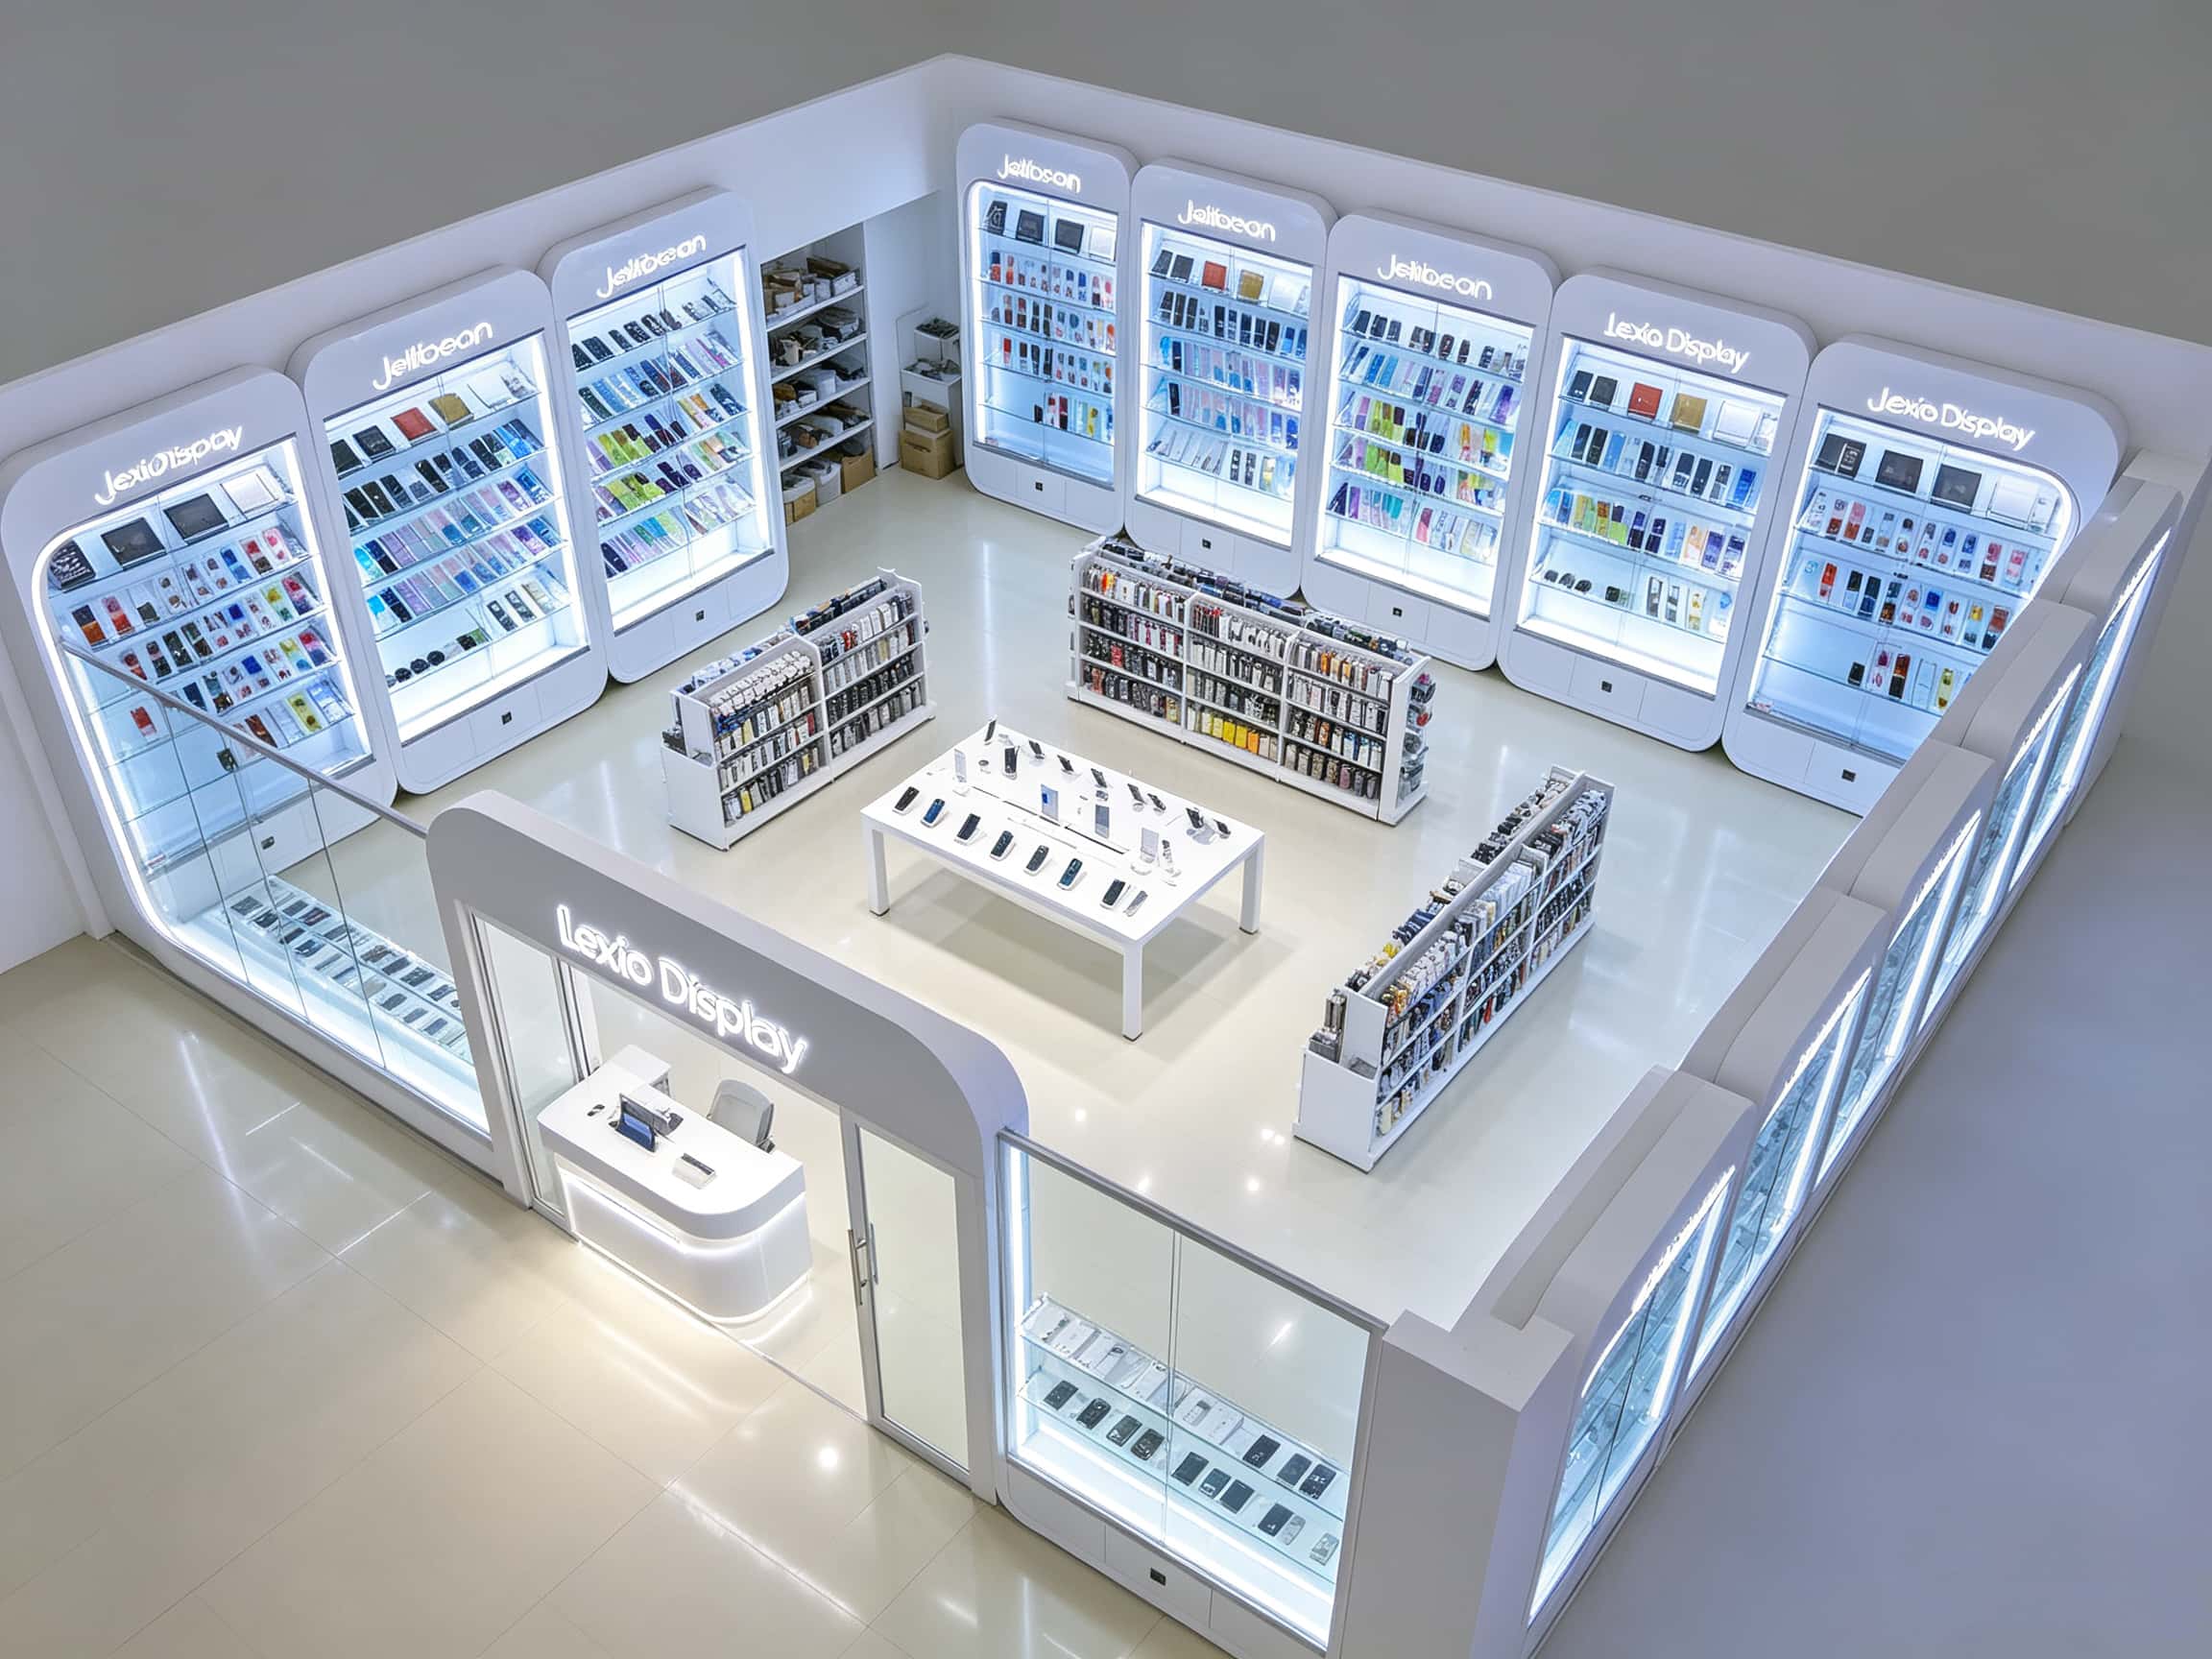
Nowadays, offline mobile phone stores are no longer like they were ten years ago, where they simply placed the phones on glass counters and waited for customers to come in and ask “Sir/Madam, how much is this phone?” and then they could make a profit. Nowadays, when people enter the store, they are not buying the phones themselves; they are purchasing an “experience” and a “sense of trust”.
If you are planning to renovate this old store or completely overhaul it, then I highly recommend you save this unstructured but profound experience post. This article doesn’t have the kind of “grand and impressive but unpractical” nonsense. It’s all the hard-earned and bitter lessons accumulated through years of working in this industry. At the end of the article, I have also compiled some of the most frequently asked questions that everyone is concerned about, hoping to help you understand the situation clearly before you start making mistakes.
Step 1: Give Your Shop a “Self-Checkup” Before You Tear Down Any Walls
A lot of store owners go straight to a designer the minute they get the keys, asking for fancy blueprints. That’s a huge mistake. Ask yourself: why are you renovating? Just to make it prettier, or to sell more stuff? They aren’t the same thing, even if they overlap.
- If your main bread and butter is “Carrier contract phones”: Then your renovation needs to focus heavily on the consultation zone and the cashier experience. You need a comfortable place for people to sit down and chat. Long wall-shelves won’t do the trick here.
- If you’re focusing on “High-end flagship experiences”: Then the center island and that feeling of openness are everything. Your layout needs to be minimal. Leave plenty of walking space so your store feels as high-end and quiet as an Apple Store.
- If you rely on “Repairs + Accessories + Trade-ins”: Then make sure you set up a transparent repair station during the renovation. Let your customers watch you fix their phones through the glass. That kind of trust is way more valuable than any billboard you could buy.
Before you sign off on any design, grab a piece of paper and sketch out your SOP (Standard Operating Procedure) —meaning, map out the customer’s journey from the moment they walk in, to touching the phones, to paying, and leaving. Their walking path will 100% determine how you should lay out the store.
Step 2: How to Arrange Your “Flow” (Mixing Islands and Wall Units) – With a Table
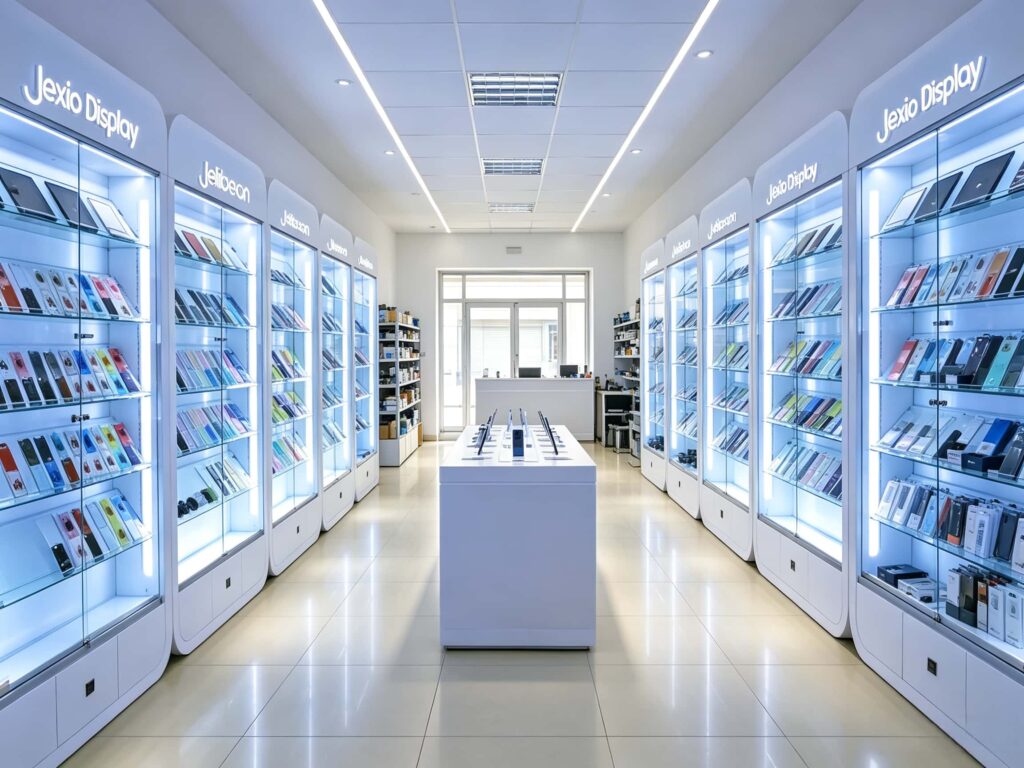
In the industry, we call this “Merchandising.” But honestly, it’s not rocket science. The number one rule is: Don’t let a customer see the entire store in one glance. Make them walk through it.
Here’s a simple zone layout guide based on average store sizes (save this table for later!):
| Zone | Suggested Area % | Core Function | Must-Avoid Pitfall |
|---|---|---|---|
| Center Island Experience | 30% – 40% | For demo units, hot-selling models | Don’t make it too big! Keep at least 1.2 meters of walking space, or it’ll feel cramped like a street market. |
| Accessory Wall / Shelves | 20% – 25% | Power banks, cables, earphones, cases | This is your highest profit margin. Put it right on the customer’s path to checkout. They’ll grab it without thinking. |
| Wall-Mounted Display Units | 25% – 30% | Smaller accessories, empty boxes, second-hand phones | Always add storage cabinets at the bottom to keep the shop looking tidy. Keep the shelf height under 1.1 meters, or customers won’t see what’s on the top shelf. |
| Checkout / Service Area | 10% | Cashier, screen protectors, contract services | Don’t bury it in the back. Try placing it at the side near the entrance, so customers have to walk past the accessories when they pay. |
Here’s a trick that doesn’t cost a cent:
Put your best-selling, highest-profit phones on the center island facing the store entrance. In merchandising, this is called the “magnet point.” If a customer sees a sleek, high-end phone the second they walk through the door, they’ll be way more patient and interested in browsing the rest of your store.
Step 3: How to Pick Your Display Cabinets (The Hard Truth About Materials and Lighting)
The most expensive part of renovating a phone store isn’t the actual drywall and demolition—it’s the display cabinets. A lot of folks think all cabinets are kinda the same, so they just go to the wholesale market, see the glowing ones, and buy them. But trust me, the trap doors are everywhere.
Here’s a straightforward Material & Manufacturing Comparison Table:
| Display Unit Type | Main Materials | Pros | Cons | Cost-Effectiveness Advice |
|---|---|---|---|---|
| Standard Glass Cabinet | Aluminum frame + regular glass | Cheap, fast to assemble | Scratches easily, lighting turns yellow, looks cheap and dull | Okay for tiny shops with a super tight budget. I’d still recommend staying away though. |
| Acrylic Glowing Cabinet | Acrylic + clear glass + bright LEDs | Soft feel, great light diffusion, cohesive look | Acrylic scratches easily, yellows over time, not heat-resistant | Good for trendy “youth-style” pop-ups or gadget stores, but not for long-term use. |
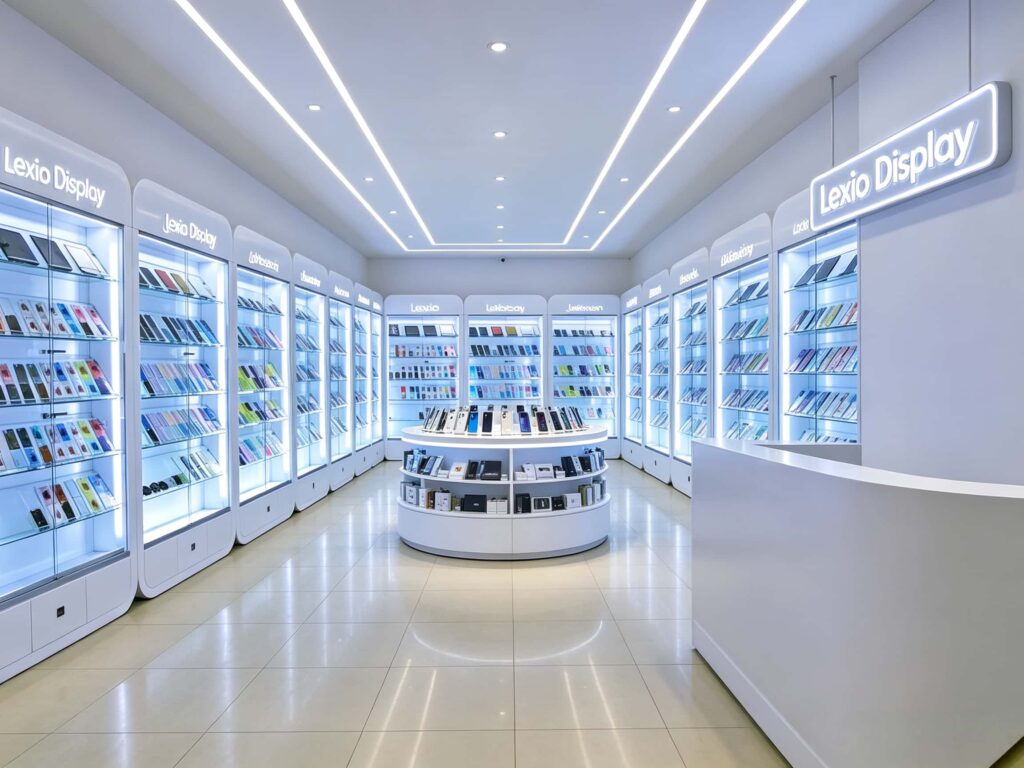
| Baked Enamel Metal Cabinets | Baked enamel metal (matte white/grey) + tempered glass | Premium texture, highly durable, stable lighting control system | Higher upfront cost, longer production time (usually 15-20 days) | Strongly recommended. In retail, quality screams “premium.” Baked enamel is the industry standard for a reason. |
A brutally honest note about lighting:
What gives your store its character? Not the color scheme—it’s the color temperature!
Please, for the love of everything, do not use those cheap, rainbow-colored chasing LED lights (no offense, but it makes your store look like a hair salon). The standard for a modern phone store, especially for the cabinet lights, is 4000K to 6000K “pure white” or “cool white” light.
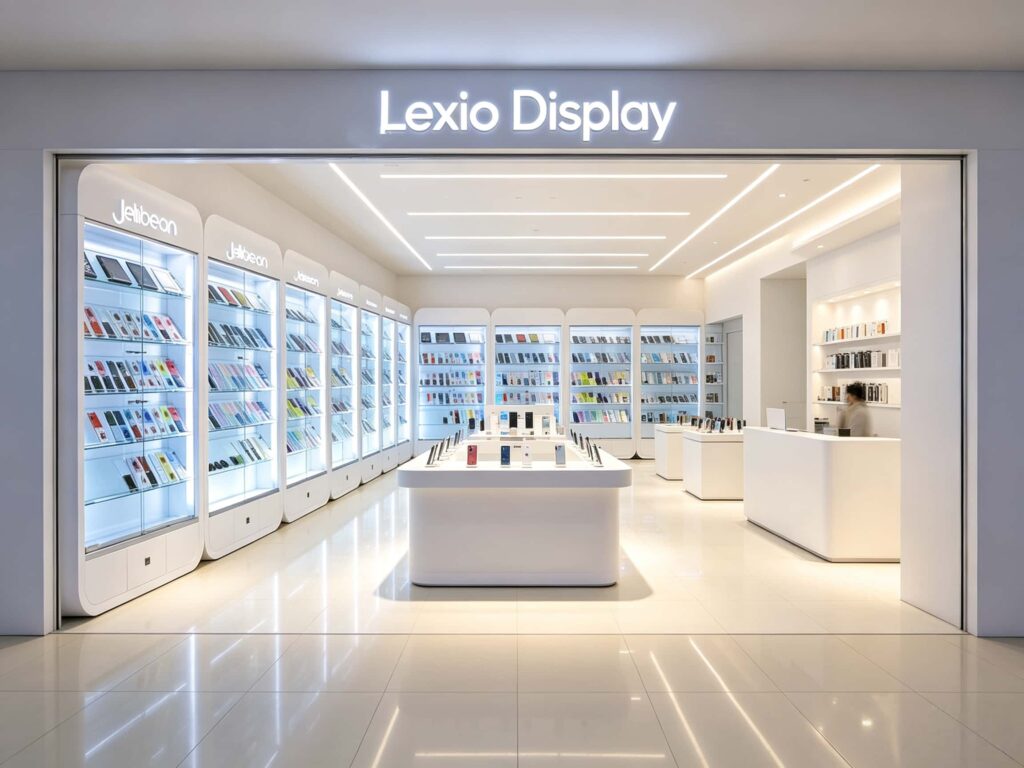
Combine that with a modern no-main-light ceiling design—just a few sleek linear LED strips running across the roof. That clean, high-tech vibe instantly makes your store look like it cost a whole lot more than the old place next door.
Step 4: How to Stay Open During Renovation (A Real-World Plan)
What’s the scariest part of a reno? Not the money you spend, but the fact that you lose business and regulars while you’re closed.
A lot of shop owners just lock the doors, throw a tarp over everything, and disappear for three months. When they finally reopen, the neighbors might honestly think you’ve gone out of business. This is a huge, avoidable rookie mistake.
My advice is: Do a “Phased Rollout” renovation:
- If your space is large enough, keep one center island area open and put up a couple of demo tables right by the entrance to keep doing business.
- Start by fixing up the back wall cabinets and hard furnishing first, and bunch all your existing inventory into one compact display area.
- On the construction barricade, don’t use those boring, dingy plastic sheets. Slap a huge poster on it that says: “We are upgrading! Still open for business! Walk in for extra discounts!“
- Use that one month of renovation to aggressively add customers to your WeChat (or contacts). Send out a massive “Exclusive VIP Promo” blast on your grand reopening day. That way, you’ll make back your renovation costs entirely through your loyal regulars.
Step 5: Talking Real Budgets (The Honest Breakdown)
Now, let’s talk money. People always ask me, “Hey boss, how much did your place cost to build?”
Don’t just look at their final quote. You need to look at the percentage breakdown.
For a typical medium-sized store (60–100 square meters), a realistic budget split looks like this:
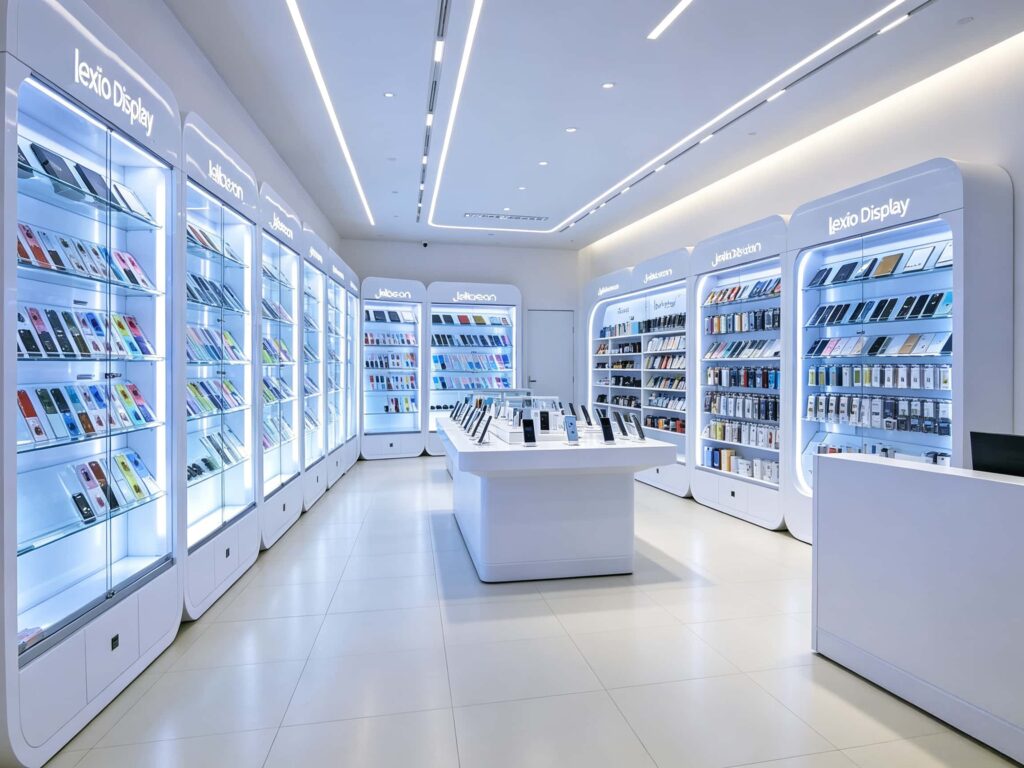
- Hard Renovation (Electrical, flooring, wall paint, ceiling): About 30% – 35%. (Don’t cheap out on the light strips here! The built-in lighting system on your brand cabinets is literally the lifeblood of your store).
- Custom Display Cabinets / Center Islands: About 40% – 45%. (This is where the money must go. If your cabinets look cheap, your store is dead on arrival).
- Storefront signs, glowing lettering, and soft decor: About 15% – 20%.
- Contingency fund for unexpected costs: Always keep 10% aside. (Trust me, you will use it. Shipping damage, cracked glass, a blown LED strip—it’ll happen).
Money-saving tip:
Do not waste your budget on elaborate “accent walls,” or ridiculously complex ceiling molding. The current trend for phone stores is minimalism. The simpler the structure, the longer it stays stylish, and the easier it is to clean.
Step 6: Controlling What the Finished Product Actually Looks Like (AI Pictures Won’t Match Reality)
These days, a lot of people go to a factory with flashy 3D AI-rendered images to order their display cabinets, and when they arrive, the colors are totally wrong, or the brightness of the LED strips doesn’t match the render.
Stop right there:
- Absolutely get the factory to send you CAD drawings (the technical engineering drawings). Double-check the distance between each shelf to make sure your actual phone boxes will fit.
- Demand color swatches (material samples) in the mail. Compare them to your actual floor tiles. For example, “Premium Grey” can have a bluish-purple undertone or a warm yellow undertone—and the difference on-site is massive.
- Make absolutely sure your display cabinets have adjustable shelves with built-in LED strips. Because product sizes change—some phones are thicker than others. You’ll need to adjust the shelf height. If the LED strips are stuck in one fixed position, you’ll end up with a dark, shadowy spot right in the middle.
❓ FAQ: The 5 Most Common Questions People Ask About Renovating a Phone Store
Q1: Generally speaking, how long does a mobile phone store renovation take?
A: If you’re just swapping out the counters and doing a little wall work, plan for about 7 to 10 days. If you’re redoing the electrical wiring or moving the main door, budget around 15 to 20 days. I’d highly recommend keeping the entire renovation under 15 days, otherwise, the lost rent and missed sales will eat you alive.
Q2: My store is really small (less than 30 sqm). Can I still do a center island?
A: Honestly, I’d say skip the island entirely. Go with an “L-shaped” or “U-shaped” wall display layout. Use that small space to the maximum. Combine your checkout counter with the repair station, put all the displays on high wall-cabinets, and add some illuminated signs above. This “space-filling” strategy actually works way better than a tiny island in a cramped room.
Q3: Is renovating a second-hand phone store different from a brand-new one?
A: Completely different. For a used phone store, you need to put the actual unlocked phones on the table for customers to touch and try. Therefore, anti-theft locks and a universal charging system are absolute must-haves. A new phone store just puts empty boxes on shelves and has 2–3 demo units. If you skip the real-phone display setup when renovating a used phone shop, the customer experience will be awful.
Q4: What’s the secret to doubling foot traffic after a renovation?
A: It’s not the fancy interior. It’s your storefront and your curb appeal. During your reno, make your entrance huge, bright, and clean. If you have space, keep a small carpeted area outside with a few illuminated stands promoting “Free Screen Protectors / Free Clean Ups.” That alone will boost your foot traffic by at least 30%.
Q5: Can I skip the complicated LED strips on the display cabinets?
A: Absolutely not. When the footfall comes in, if the cabinets are dark and dingy, no one wants to look. The LED lights are meant to draw visual attention—they’re your “silent salesmen.” If you mess up the lighting, it’s like having a good-looking guy with no personality.
⚠️ The Final Honest Truth
Even after reading all these practical tips, a lot of you will still feel anxious. Because no matter how many guides you read, when you actually have to make it happen on the ground, you realize:
You have to deal with the tilers, electricians, carpenters; run to the hardware market to compare prices; chase the factory for drawings, rush the shipping, arrange logistics, and then supervise the final installation. Going through this whole process will not only wear you out, but if one tiny detail goes wrong (like measuring the door frame wrong, or the cabinets ending up too tall), your six-figure investment could just go down the drain.
Everyone’s got their own specialty. If all these overwhelming details take too much of your brainpower, or you just don’t want to spend weeks figuring out all the hidden traps, then the smartest choice is to find a team that understands design, can do the production drawings, and actually produces and delivers the cabinets from start to finish.
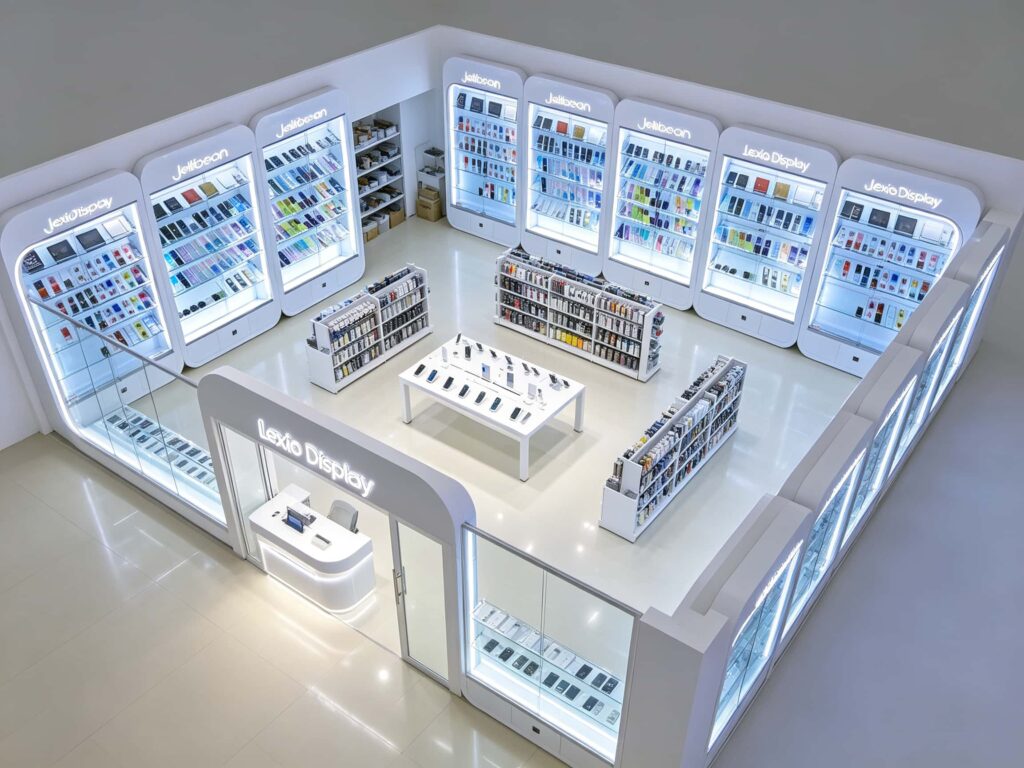
We’ve been deep in this industry for years, offering a full suite of custom display cabinet design, manufacturing, and installation services for mobile phone stores and gadget shops worldwide.
Whether you’re upgrading a tiny 30-sqm shop or doing a full turnkey project for a 200-sqm flagship store, we handle everything—from spatial planning, lighting temperature calibration, all the way to shipping and installing the final cabinets. If you’re planning a renovation, or you’re just stuck on your current store layout, don’t hesitate to drop us a message or comment below with your store details. Tell us what you need, and we’ll put together a professional blueprint to save you tens of thousands in costly trial and error.
Running a phone store should feel smooth, so you can actually focus on making money. Looking forward to hearing from you!