
From Concept to Production: Custom Candy Shop Interiors

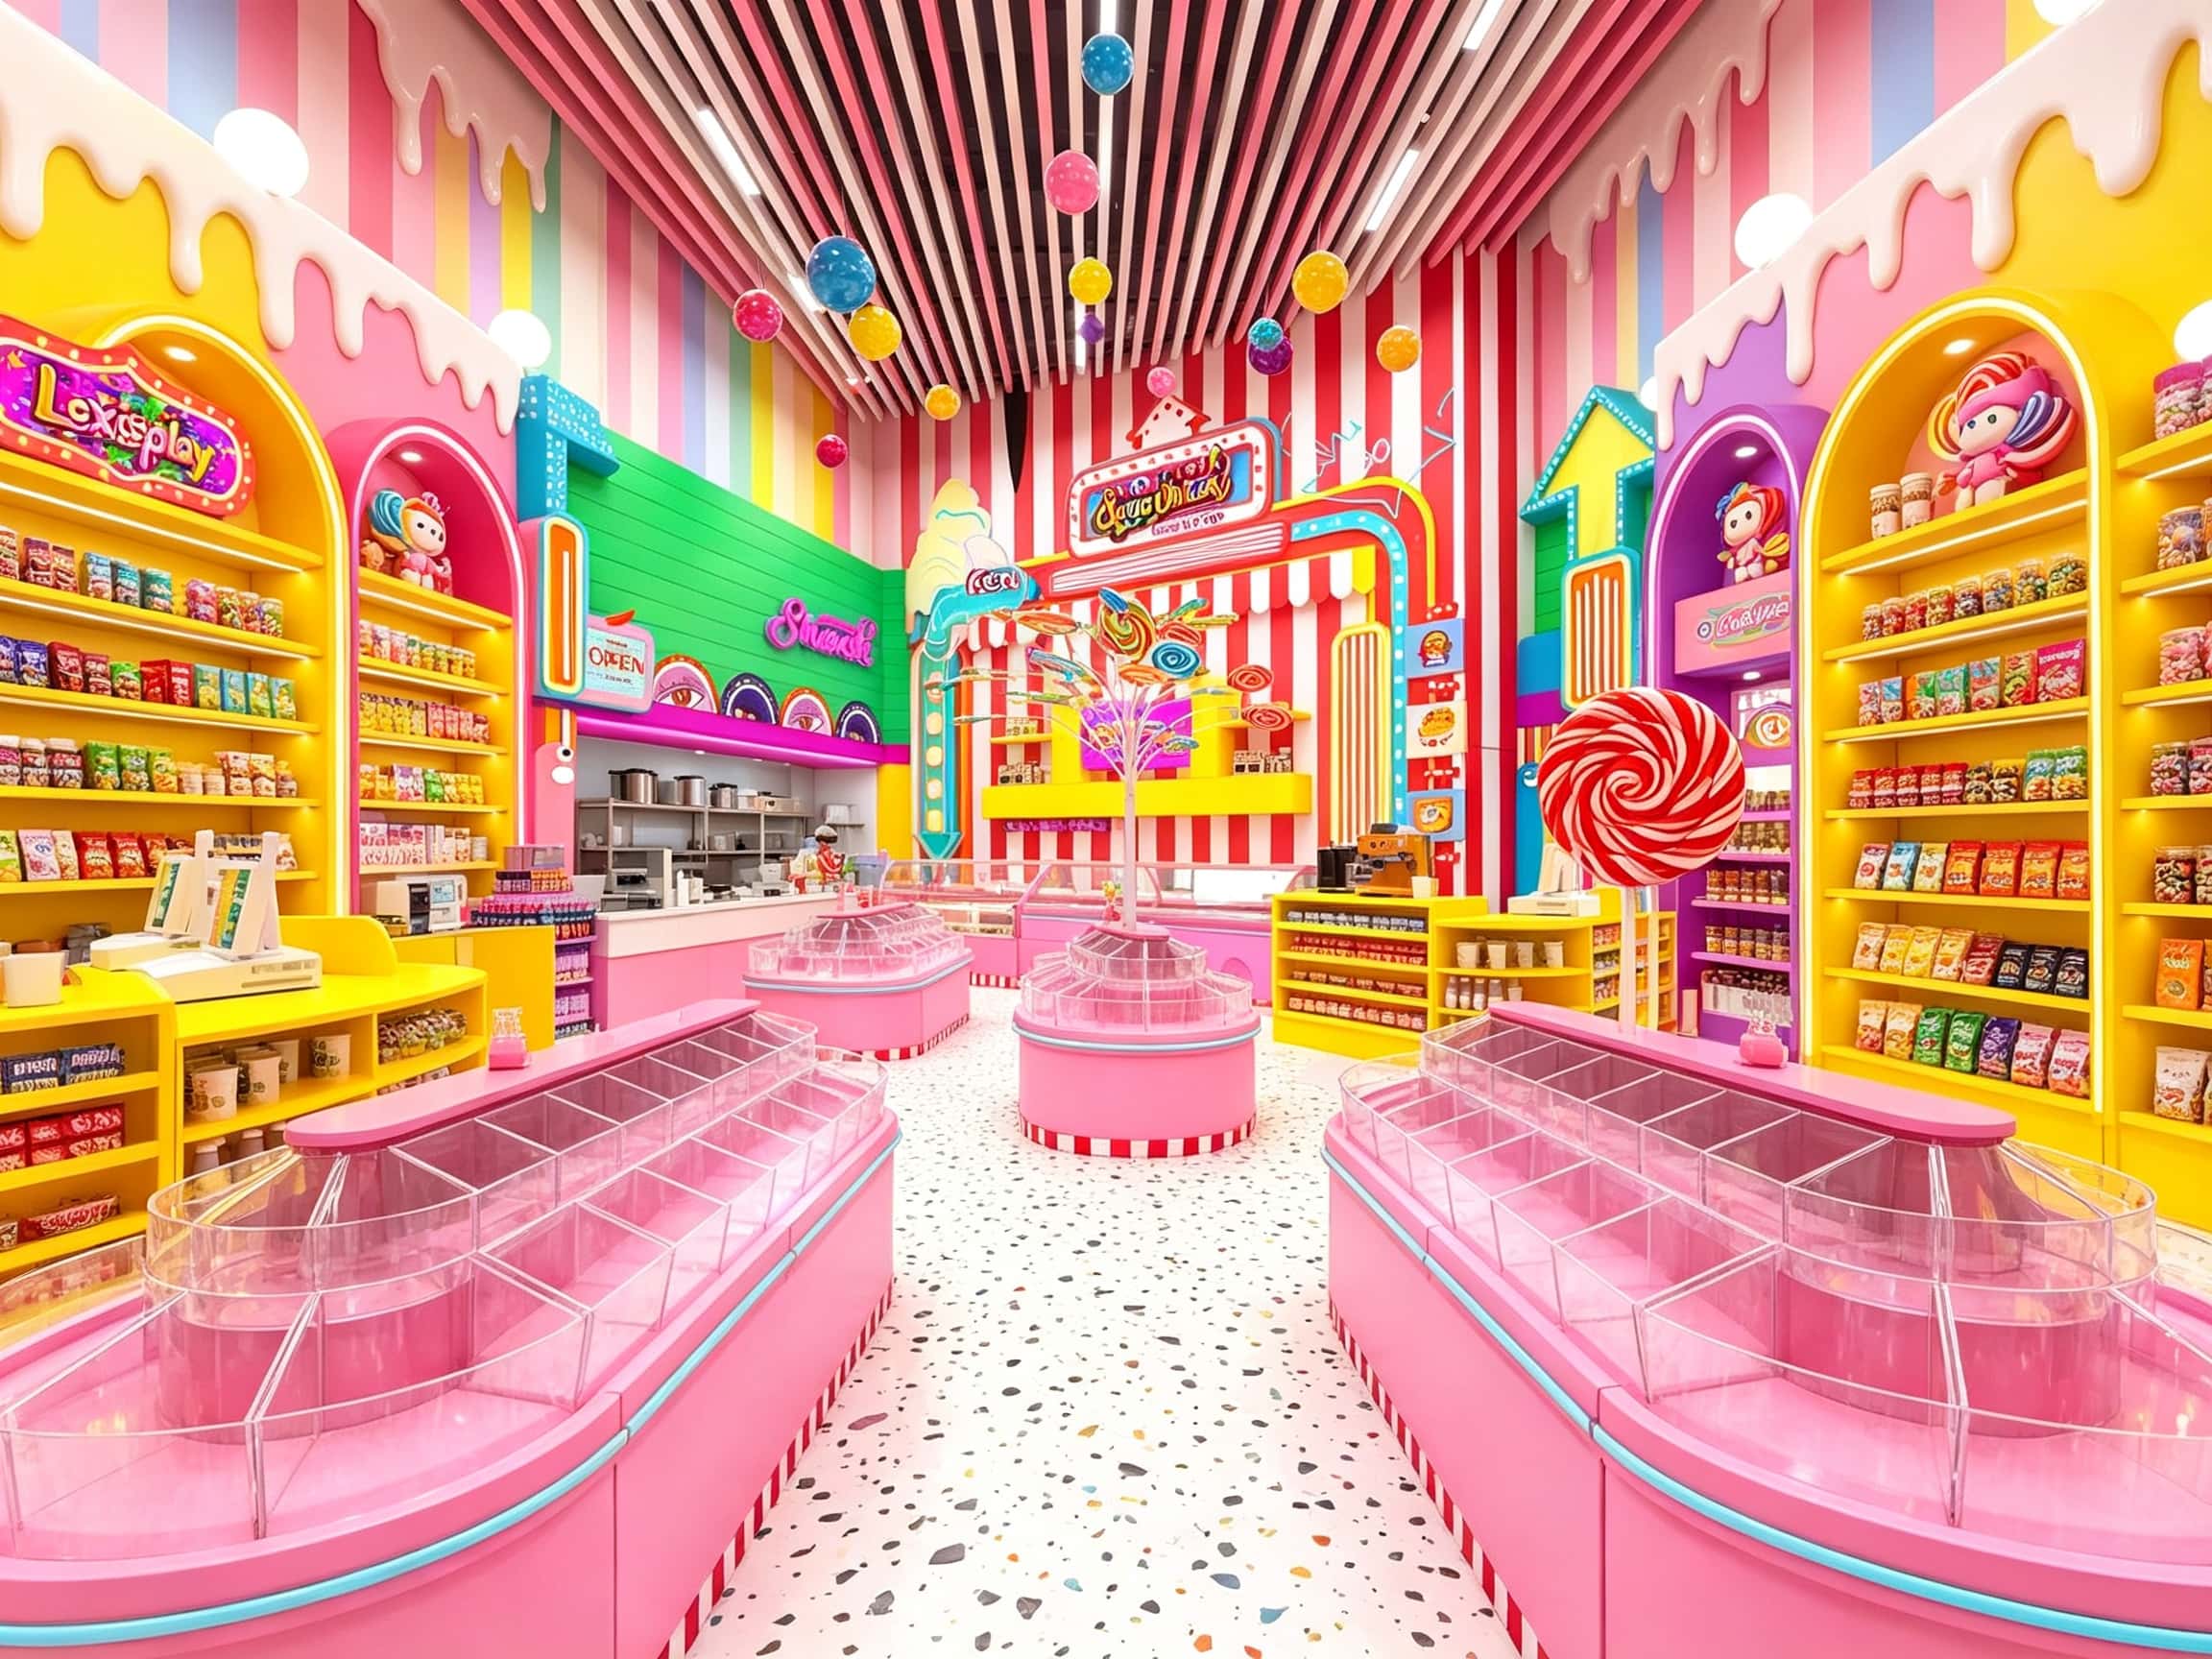
Custom candy shop interiors turn a sweet concept into a buildable retail space by aligning brand story, customer flow, display fixtures, materials, lighting, and fabrication drawings before construction. The payoff: faster sales, better photos, cleaner operations, and fewer costly surprises during installation.
Custom candy shop interiors are retail environments designed and fabricated specifically for confectionery sales. They include walls, counters, shelving, bins, lighting, signage, storage, and service areas engineered around candy visibility, impulse buying, sanitation, durability, and high foot traffic. They are not generic fit-outs with candy added later; every detail supports product freshness and brand character.
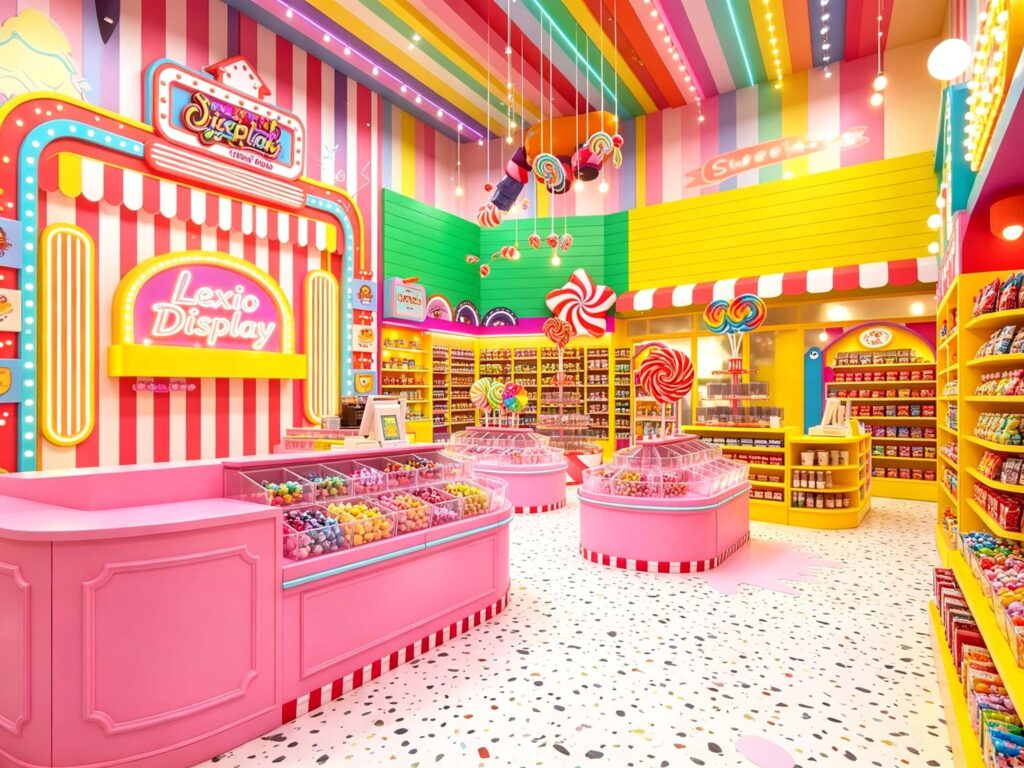
Why Custom Candy Shop Interiors Beat Off-the-Shelf Fixtures
Off-the-shelf shelving rarely fits candy bins, bulk scoops, or seasonal walls. Custom interiors solve merchandising, storage, and flow in one package. They cost more upfront, yes, but they cut wasted space, improve product visibility, and create a recognizable shop customers remember and share.
- Candy bins need exact depth, lip height, and scoop clearance. Standard shelves force compromise.
- Bulk walls need reinforced brackets because sugar is heavy. A 4 ft section can hold 80–120 lb.
- Checkout counters must hide bagging supplies, POS wiring, and backup stock without looking cluttered.
- Seasonal displays need modular power and shelving so Valentine’s, Halloween, and holiday sets swap fast.
- Brand moments—color, logo, shape, scent, music—work better when fixtures are built around them.
The business case in numbers
Custom does not mean gold-plated. It means right-sized.
| Metric | Off-the-shelf | Custom |
|---|---|---|
| Product facing | 60–75% | 85–95% |
| Wasted aisle space | 10–20% | 3–8% |
| Reusable seasonal kits | Low | High |
| Brand recall | Average | Strong |
| Maintenance | Frequent | Planned |
Start With Concept: Brand, Product, and Customer Journey
Concept work answers three questions: who buys, what they see first, and how they pay. A strong candy shop concept connects brand voice to physical touchpoints. Without that link, you get pretty fixtures that do not sell, or practical shelves that feel like a warehouse.
- Brand filter: playful, luxury, nostalgic, organic, international, or novelty.
- Product hero: bulk candy, chocolate, gummies, freeze-dried candy, imports, gifts, or drinks.
- Customer type: kids with parents, teens, tourists, gift buyers, event planners.
- Journey: pause, browse, scoop, weigh, pay, share, return.
- Constraints: rent, ceiling height, plumbing, power, back stock, staff count.
Discovery questions we ask before drawing
- What is your average transaction and target basket size?
- Which 10 products must be visible from the door?
- Do you need self-serve bins, staffed cases, or both?
- How much back stock arrives weekly, and where does it live?
- What is your cleaning routine, and who does it?
Concept deliverables
- Mood board with 2–3 directions.
- Zoning plan: entry, bulk, chocolate, checkout, party, photo.
- Fixture list with sizes and finishes.
- Budget ranges by zone.
- 3D concept views for approvals.
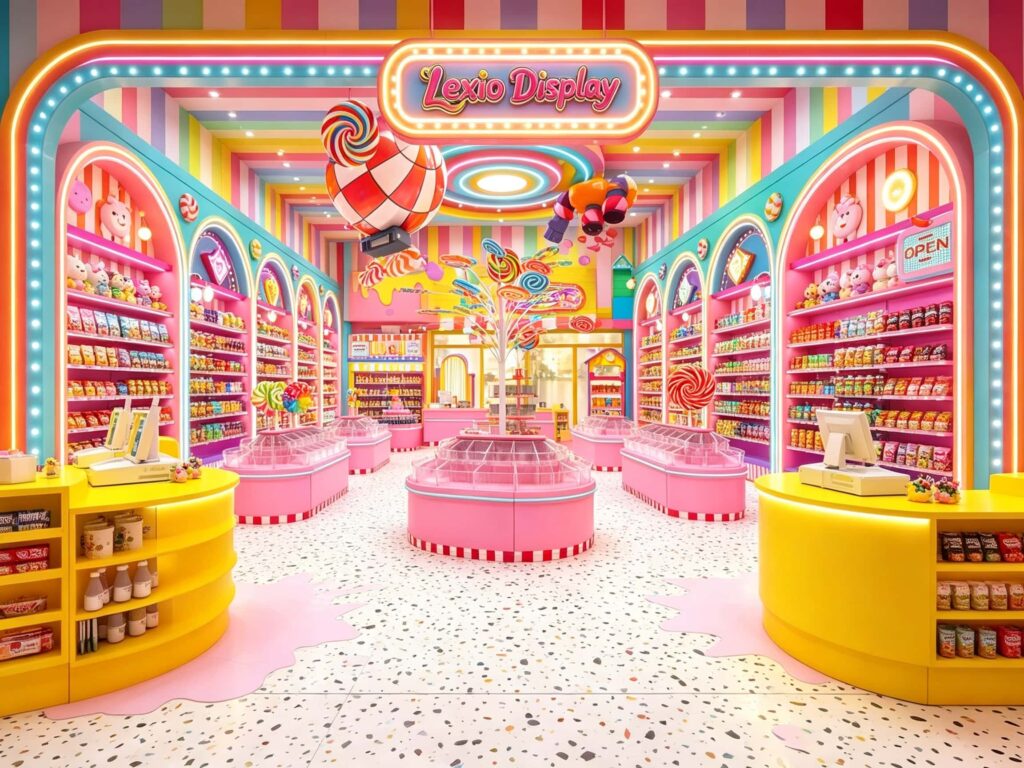
Layout and Flow: How Customers Move Through a Candy Shop
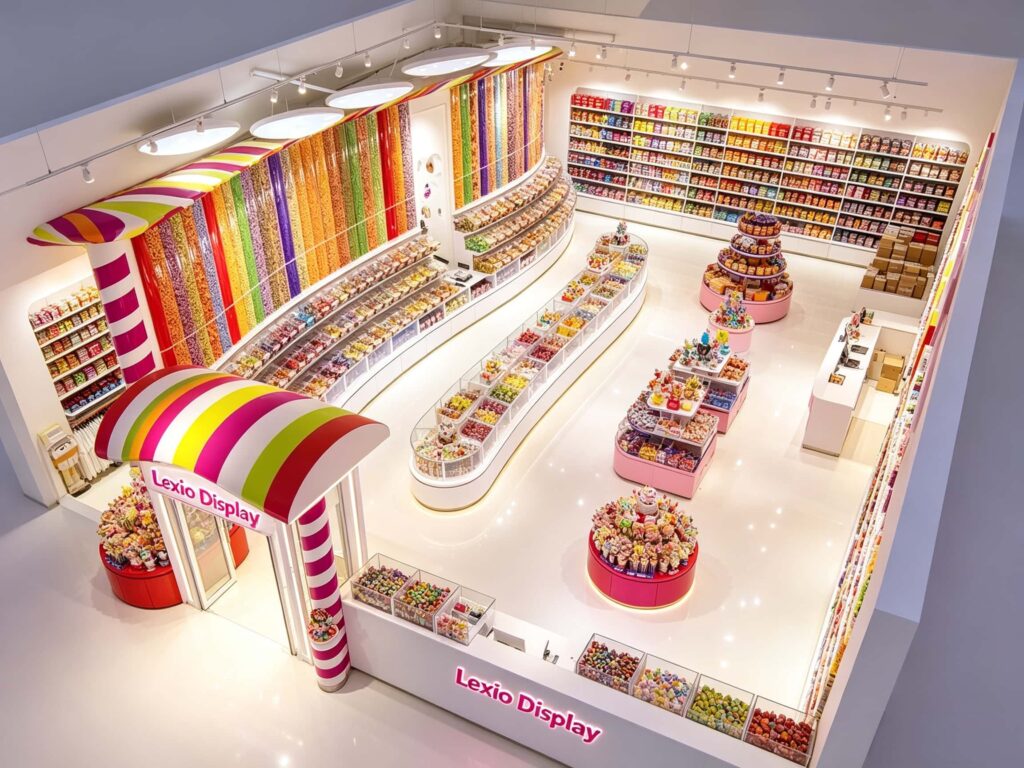
Candy shops live on impulse. Layout should pull people in, slow them down, and place easy add-ons near checkout. A good plan keeps aisles wide enough for strollers and wheelchairs while making every turn reveal something new. Bad flow creates dead corners and missed sales.
- Decompression zone: first 5 ft inside the door stays open. No tall fixtures.
- Power aisle: 42–60 in wide. Main path curves, not straight.
- Bulk zone: scoops, bags, and scales grouped together.
- Impulse zone: checkout queue with 3–5 small, low-cost items.
- Service counter: visible from entry, but not blocking browse.
- Back stock: door hidden from customer view.
Recommended dimensions
| Area | Minimum | Better | Notes |
|---|---|---|---|
| Main aisle | 36 in | 48–60 in | ADA path |
| Secondary aisle | 30 in | 36–42 in | One person passing |
| Checkout queue | 36 in | 48 in | Two carts |
| Bulk bin depth | 18 in | 20–24 in | Scoop room |
| Counter height | 36 in | 38–42 in | POS + bagging |
| Display height | 48 in | 54–66 in | Sightlines |
Display Fixtures and Merchandising Systems
Fixtures are not furniture. They are sales tools. Candy needs visibility, portion control, and easy restocking. The best systems mix bulk bins, shelving, pegboard, glass cases, and refrigerated units. Each fixture should earn its floor space by turning product or building the brand.
- Bulk gravity bins: great for gummies, sours, jelly beans.
- Scoop bins: classic, high-touch, need hygiene plan.
- Acrylic candy walls: color impact, but plan cleaning.
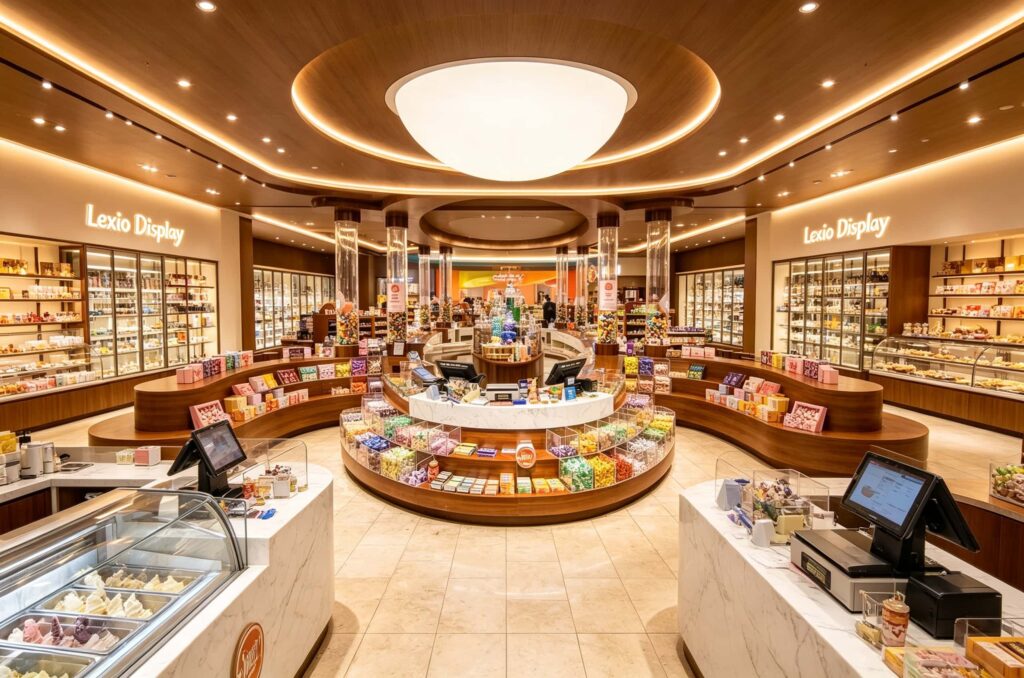
- Glass display cases: chocolate, truffles, fudge, gifts.
- Refrigerated cases: chocolate in warm climates, drinks, ice cream.
- Pegboard and slatwall: small packs, toys, add-ons.
- Modular tables: seasonal kits, events, sampling.
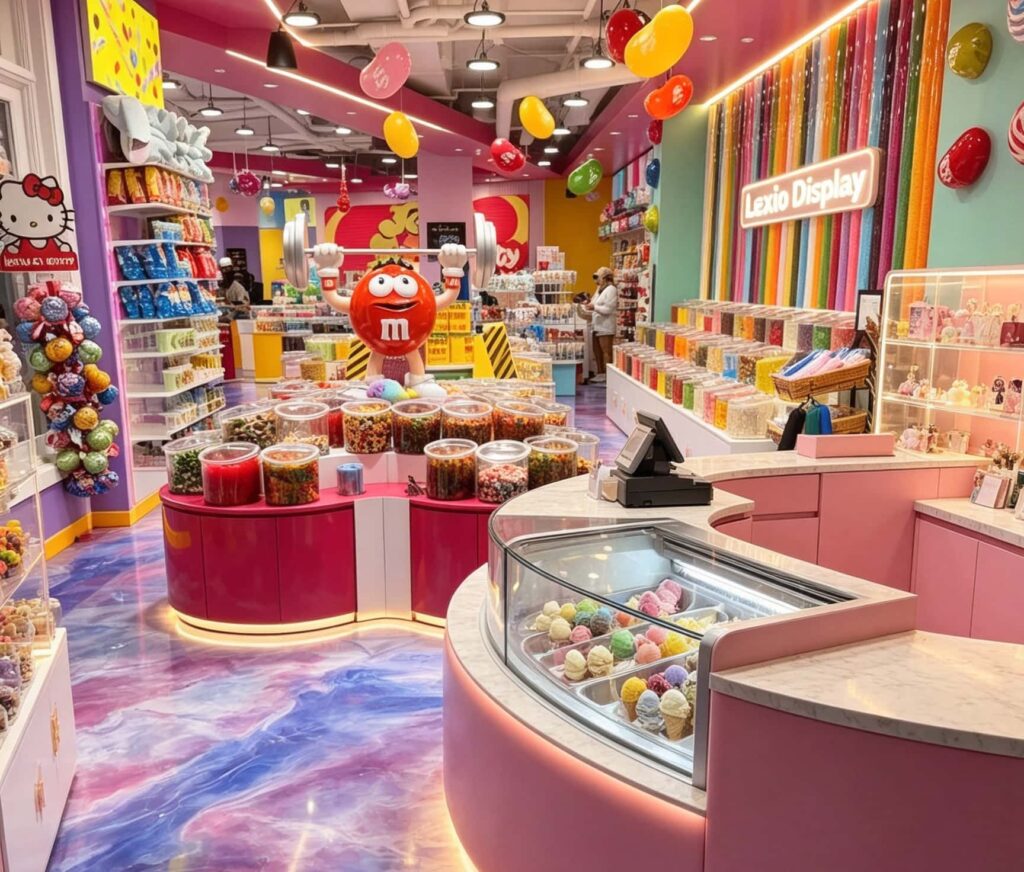
Fixture selection chart
| Fixture | Best for | Footprint | Cost range per unit |
|---|---|---|---|
| Gravity bin | Gummies, sours | 12×18 in | $80–$220 |
| Scoop bin | Jelly beans, mixes | 18×24 in | $120–$350 |
| Acrylic wall | Color candy | 24×36 in | $250–$900 |
| Glass case | Chocolate, gifts | 48×24 in | $1,200–$4,500 |
| Refrigerated case | Chilled treats | 60×30 in | $2,500–$8,000 |
| Modular table | Seasonal | 48×24 in | $400–$1,500 |
Materials and Finishes That Survive Sugar, Sticky Hands, and Cleaning
Sugar, heat, moisture, and constant wiping destroy weak finishes. Choose commercial-grade surfaces that wipe clean and hide fingerprints. The right materials also keep the shop looking new after thousands of customers. Cheap laminate and untreated wood usually cost more later through repairs and replacement.
- Counters: solid surface, quartz, stainless steel, or sealed butcher block.
- Cabinets: plywood or MDF with high-pressure laminate, not particleboard.
- Shelves: powder-coated steel, acrylic, tempered glass, or melamine.
- Floors: porcelain tile, LVT commercial, sealed concrete, or epoxy.
- Walls: scrubbable paint, FRP, tile, or vinyl wallpaper in low-touch zones.
- Edges: rounded or bullnose. No sharp corners at kid height.
- Sealants: food-safe, mold-resistant, non-yellowing.
Material comparison
| Material | Cleanability | Durability | Cost | Best use |
|---|---|---|---|---|
| Quartz | High | High | $$$ | Counters |
| Solid surface | High | High | $$$ | Counters, seamless |
| Stainless | High | High | $$–$$$ | Back counter, sinks |
| Laminate | Medium | Medium | $ | Cabinets |
| Powder-coated steel | High | High | $$ | Shelves, frames |
| Acrylic | Medium | Medium | $$ | Candy walls |
| Porcelain tile | High | High | $$ | Floors |
| LVT | High | Medium | $ | Floors |
Lighting, Color, and Instagram Moments
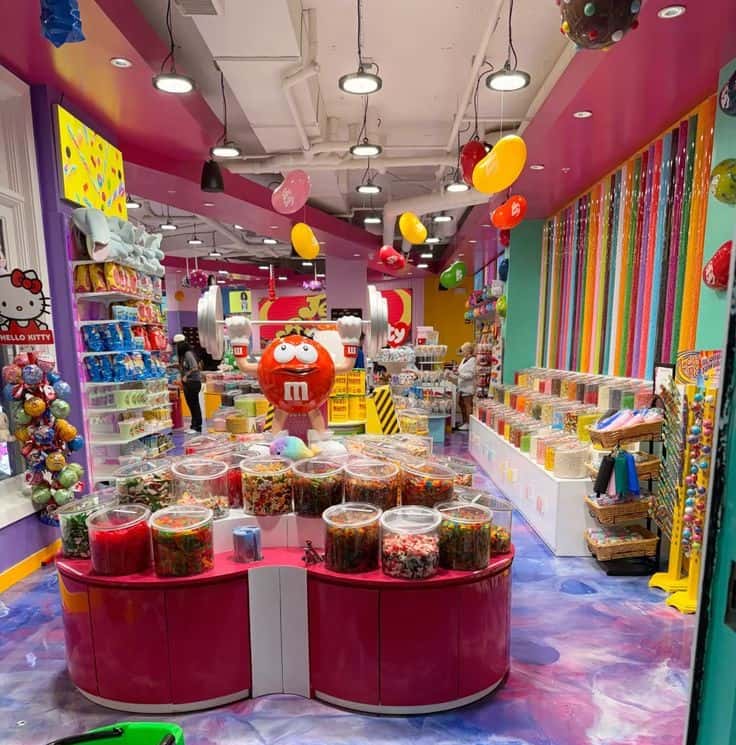
Lighting makes candy look fresh or dull. Warm, high-CRI light brings out reds, pinks, and yellows. Layered lighting—ambient, task, accent, and signage—keeps the shop bright without glare. One photo-worthy wall can bring free social reach, but it must not block sales or cleaning.
- CRI 90+ for true candy color.
- 3000K–3500K warm white for most candy.
- 4000K in back prep and storage.
- LED strip under shelves to light lower rows.
- Track or pendant accents on hero displays.
- Dimmers by zone for day, evening, and events.
- Photo wall with brand logo, neon, or sculptural candy shape.
Lighting plan
| Zone | Type | Color temp | Notes |
|---|---|---|---|
| Entry | Ambient | 3000K | Inviting |
| Bulk wall | Shelf LED | 3000K–3500K | Even light |
| Checkout | Task | 3500K | POS clarity |
| Photo wall | Accent | 3000K | High CRI |
| Back room | Utility | 4000K | Safety |
From Concept to Production: Drawings, Prototypes, and Fabrication
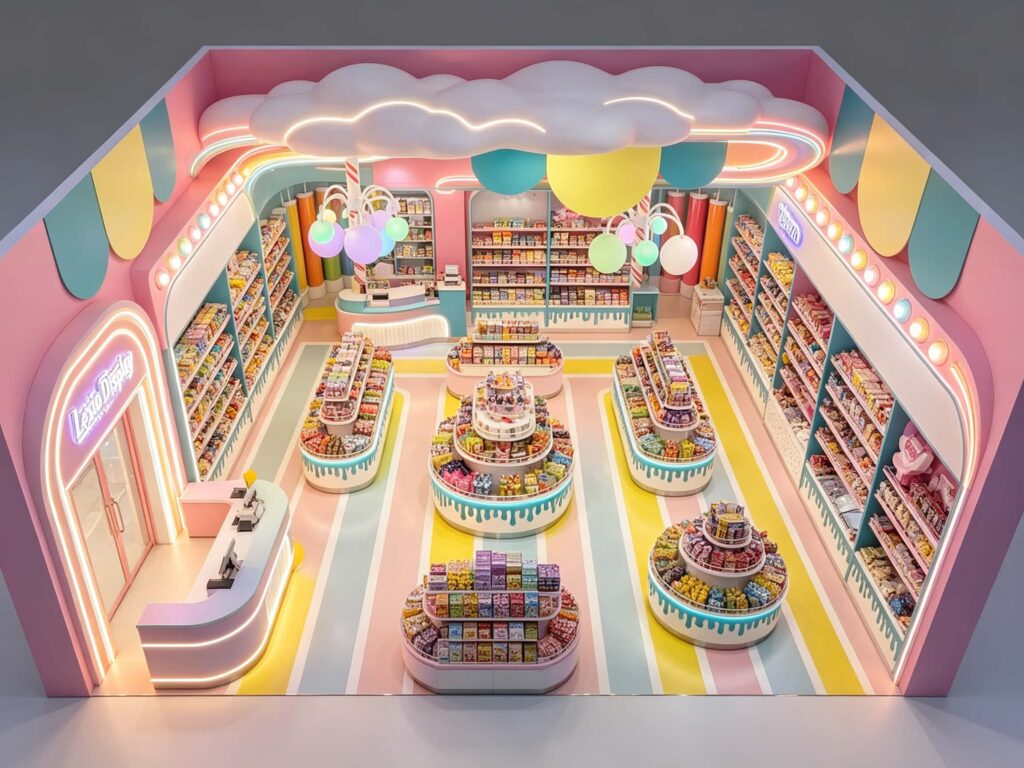
Production starts when concept drawings become shop drawings. Every fixture needs dimensions, materials, hardware, power, and install sequence. Prototypes catch problems before full fabrication. A clean drawing set keeps millwork, electricians, plumbers, and installers working from the same plan. That saves time and change orders.
- Schematic design: zoning, fixture list, budget.
- Design development: 3D views, finishes, lighting.
- Construction documents: millwork, electrical, plumbing, ADA.
- Prototype: one bin, one counter, one shelf.
- Fabrication: CNC cut, edge band, powder coat, assemble.
- Pre-install check: measure doors, elevators, ceilings.
- Install: protect floors, sequence trades, punch list.
Production stages
| Stage | Time | Output |
|---|---|---|
| Concept | 1–2 weeks | Mood board, zoning |
| 3D design | 2–3 weeks | Views, fixture plan |
| Engineering | 2–4 weeks | Shop drawings |
| Fabrication | 4–8 weeks | Built fixtures |
| Install | 3–10 days | Ready store |
Budget Ranges and Cost Drivers
Custom candy shop interiors vary widely by city, size, and finish level. A small 800 sq ft shop may cost less than a 2,500 sq ft flagship. Fixture count, refrigeration, electrical, and millwork drive most of the budget. Get a line-item estimate early, not a vague lump sum.
- Design and engineering: $4,000–$25,000.
- Millwork and fixtures: $25,000–$180,000.
- Lighting and electrical: $6,000–$40,000.
- Flooring: $4–$18 per sq ft installed.
- Counters: $150–$500 per linear ft.
- Refrigeration: $2,500–$12,000 per unit.
- Installation: 10–20% of fixture cost.
- Permits and fees: $1,000–$15,000.
Budget snapshot by shop size
| Size | Lean | Mid-range | High-end |
|---|---|---|---|
| 600–900 sq ft | $45k–$80k | $80k–$150k | $150k–$250k |
| 1,000–1,500 sq ft | $70k–$120k | $120k–$220k | $220k–$400k |
| 1,800–2,500 sq ft | $100k–$180k | $180k–$320k | $320k–$600k+ |
Timeline: How Long Does a Custom Candy Shop Interior Take?
Most projects take 12–24 weeks from signed concept to opening. Small shops with simple fixtures can move faster. Larger stores with refrigeration, custom millwork, and permits take longer. The schedule usually breaks into design, engineering, fabrication, site work, and install.
- Week 1–2: discovery and site measure.
- Week 3–5: concept and 3D design.
- Week 6–9: engineering and permits.
- Week 10–17: fabrication.
- Week 12–18: site work in parallel.
- Week 18–22: install and punch list.
- Week 23–24: stock, train, soft open.
Fast vs. standard timeline
| Phase | Fast track | Standard |
|---|---|---|
| Concept | 1 week | 2 weeks |
| 3D design | 2 weeks | 3 weeks |
| Engineering | 2 weeks | 4 weeks |
| Fabrication | 4 weeks | 8 weeks |
| Install | 3 days | 10 days |
Permits, Health Codes, and Accessibility
Candy shops may sell unpackaged food, so health rules matter. Hand sinks, three-compartment sinks, floor sinks, and smooth cleanable surfaces often apply. ADA requires accessible routes, counter heights, and turning space. Check local rules before fabrication, because fixing after install is expensive.
- Hand sink at prep or sampling area.
- Three-compartment sink if washing utensils.
- Smooth, non-porous, cleanable surfaces.
- Cove base at floor-wall joints in wet zones.
- Pest control: sealed gaps, no hidden crumbs.
- ADA: 36 in clear path, 60 in turn radius.
- Counter: 36 in max at service point, or lower section.
- Restroom: local code depending on size and seating.
Installation and Opening Day
Installation is choreography. Fixtures arrive, trades finish, and merchandising begins. Protect finished floors and walls until the last possible moment. Test every light, outlet, drawer, and door before stock arrives. A two-day buffer prevents small issues from delaying opening.
- Confirm delivery route, elevator, and door width.
- Stage fixtures by zone, not by truck order.
- Install base cabinets first, then counters, shelves, lighting.
- Clean inside every bin and case before use.
- Merchandise by color, height, and price point.
- Train staff on restock, cleaning, and rotation.
- Soft open with friends, family, and local press.
Common Mistakes and How to Avoid Them
Most candy shop interiors fail for predictable reasons: too many fixtures, poor lighting, no back stock, and finishes that cannot handle sugar. Avoiding these mistakes costs little during design and saves thousands after opening. The goal is a shop that works on day 100, not just day one.
- Do not copy a restaurant or boutique plan.
- Do not buy bins before the layout is fixed.
- Do not skip electrical for seasonal displays.
- Do not use open wood shelves in humid areas.
- Do not block sightlines with tall gondolas.
- Do not forget backup stock and staff space.
- Do not wait on permits to start fabrication.
FAQ
These are the questions candy shop owners ask most before starting a custom interior. The answers cover cost, timeline, materials, and process. If your question is not here, send us your floor plan and we will answer it with a specific 3D design direction.
How much do custom candy shop interiors cost?
Most projects fall between $45,000 and $400,000.
- 600–900 sq ft: $45k–$250k.
- 1,000–1,500 sq ft: $70k–$400k.
- Fixtures, refrigeration, and millwork drive cost.
- Design fees: $4k–$25k.
How long does it take?
Most projects take 12–24 weeks.
- Concept: 1–2 weeks.
- 3D design: 2–3 weeks.
- Engineering: 2–4 weeks.
- Fabrication: 4–8 weeks.
- Install: 3–10 days.
What materials are best for candy displays?
Easy-clean commercial materials work best.
- Powder-coated steel.
- Acrylic or tempered glass.
- Quartz or solid surface counters.
- Commercial LVT or porcelain tile.
- Scrubbable paint or FRP walls.
Do I need a 3D design before fabrication?
Yes, if you want fewer mistakes.
- Shows sightlines and flow.
- Confirms dimensions.
- Helps get permits and bids.
- Reduces change orders.
- Makes staff training easier.
Can you work from my floor plan?
Yes. Send it.
- PDF, JPG, DWG, or hand sketch.
- Include ceiling height, doors, power, plumbing.
- Note back stock and refrigeration needs.
- We return a 3D concept and production quote.
What is the biggest mistake in candy shop design?
Designing for looks only.
- Candy needs visibility, not mystery.
- Sugar destroys weak finishes.
- Staff need restock space.
- Customers need clear flow.
- Lighting must flatter color.
Let’s Turn Your Floor Plan Into a 3D Candy Shop Design
You have a location, a product list, and a rough idea. The next step is a buildable 3D design and a production plan. Send us your floor plan and we will show you how your candy shop can look, flow, and sell before you spend on fabrication.
Send us your floor plan today to get a custom 3D design, fixture layout, and production quote.
Contact our design-build team now.
No obligation. No generic template. Just a practical path from concept to production.